# Image visualisation with Cytomine
As explained in the Getting Started page, to browse in an image, we need to upload it and associate it to a project.
Cytomine support multiple formats. The list of these supported format is displayed in the Storage panel.
One you have associated images to the project, you will see them into the list of images and you will be able to browse them by clicking on the "Open" button.
The viewer is composed of the following components:
- The annotation bar at the top;
- The zoom and rotate buttons left to the annotation bar;
- The image menu at the right of the image;
- The global map with the indication of your location at the bottom left;
- The scale, magnification, position of the mouse and an Add button at the bottom right.
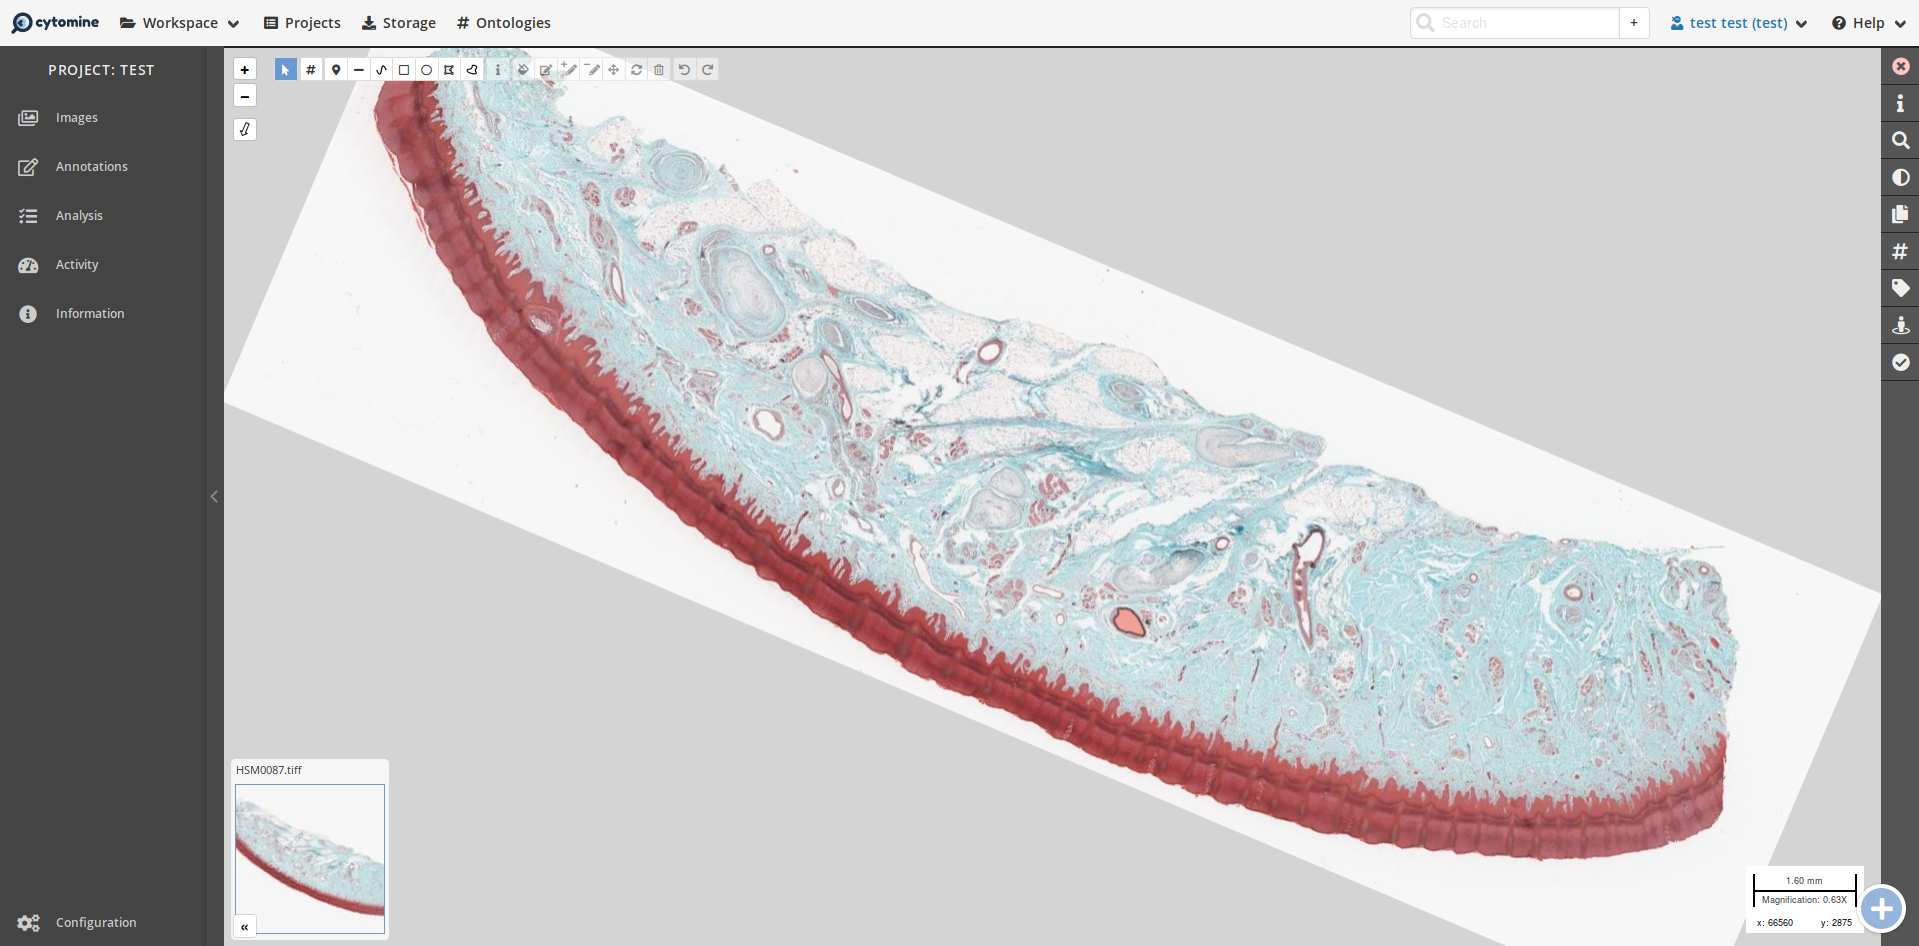
# Browsing an image
Our viewer is a zoomable viewer for gigapixel images, with various tools for annotation. Note that multiple images can be opened in parallel, each one having its own tab. By default, the viewer also displays current user's annotations (in red here, corresponding to the color of a term).
You can move in the image by dragging with your mouse and zoom with your mouse wheel.
You can see your current location in the global map and you can move the square delimiting your location in this map to move faster at a new location.
On the right, you have a panel related to the current image. The related topics are:
- Information: You have an Overview of the current image and your current location (red rectangle), the width & height of the image, the current mouse location in the image & magnitude;
- Digital zoom: By default, Cytomine allows you to zoom beyond the maximum magnification of the image. As this artificial zoom will display pixelated information, you can choose to disable this behavior;
- Coloration: Will be detailed below;
- Annotation Layers: You can add the layer of another user and see its annotations. You can also change the opacity of annotations via the slider;
- Terms: In this panel, you will be able to add, remove or change the opacity of terms displayed on the image;
- Annotations Properties: If the displayed annotations have properties, you will be able to select one to display it on the image;
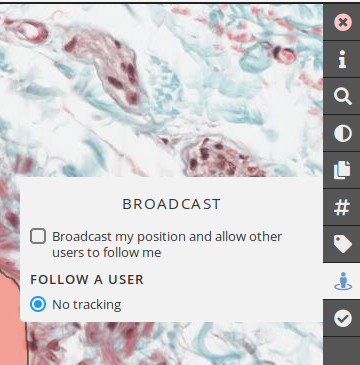
- Broadcast: If a user is connected and has allowed his position to be broadcast, you will be able to follow him on the image.
# Rotation
At the top left of the viewer, the + and - zoom buttons and the rotation tool are displayed.
![]()
The zoom buttons allow you to zoom in and out (as you can do with your mouse wheel) and the rotation tool allows you to rotate at a chosen degree to display the image through a new angle.
# Zoom
The structure of an image in Cytomine is a pyramidal. It means that the image file contains the image at multiple level of zoom with a constant quality. The maximum zoom level available in the image is the Magnification and is displayed in the information tab in the image menu at the right of the image. However, Cytomine allows you to zoom beyond this limit with a digital zoom. The image will lose quality as you zoom in.
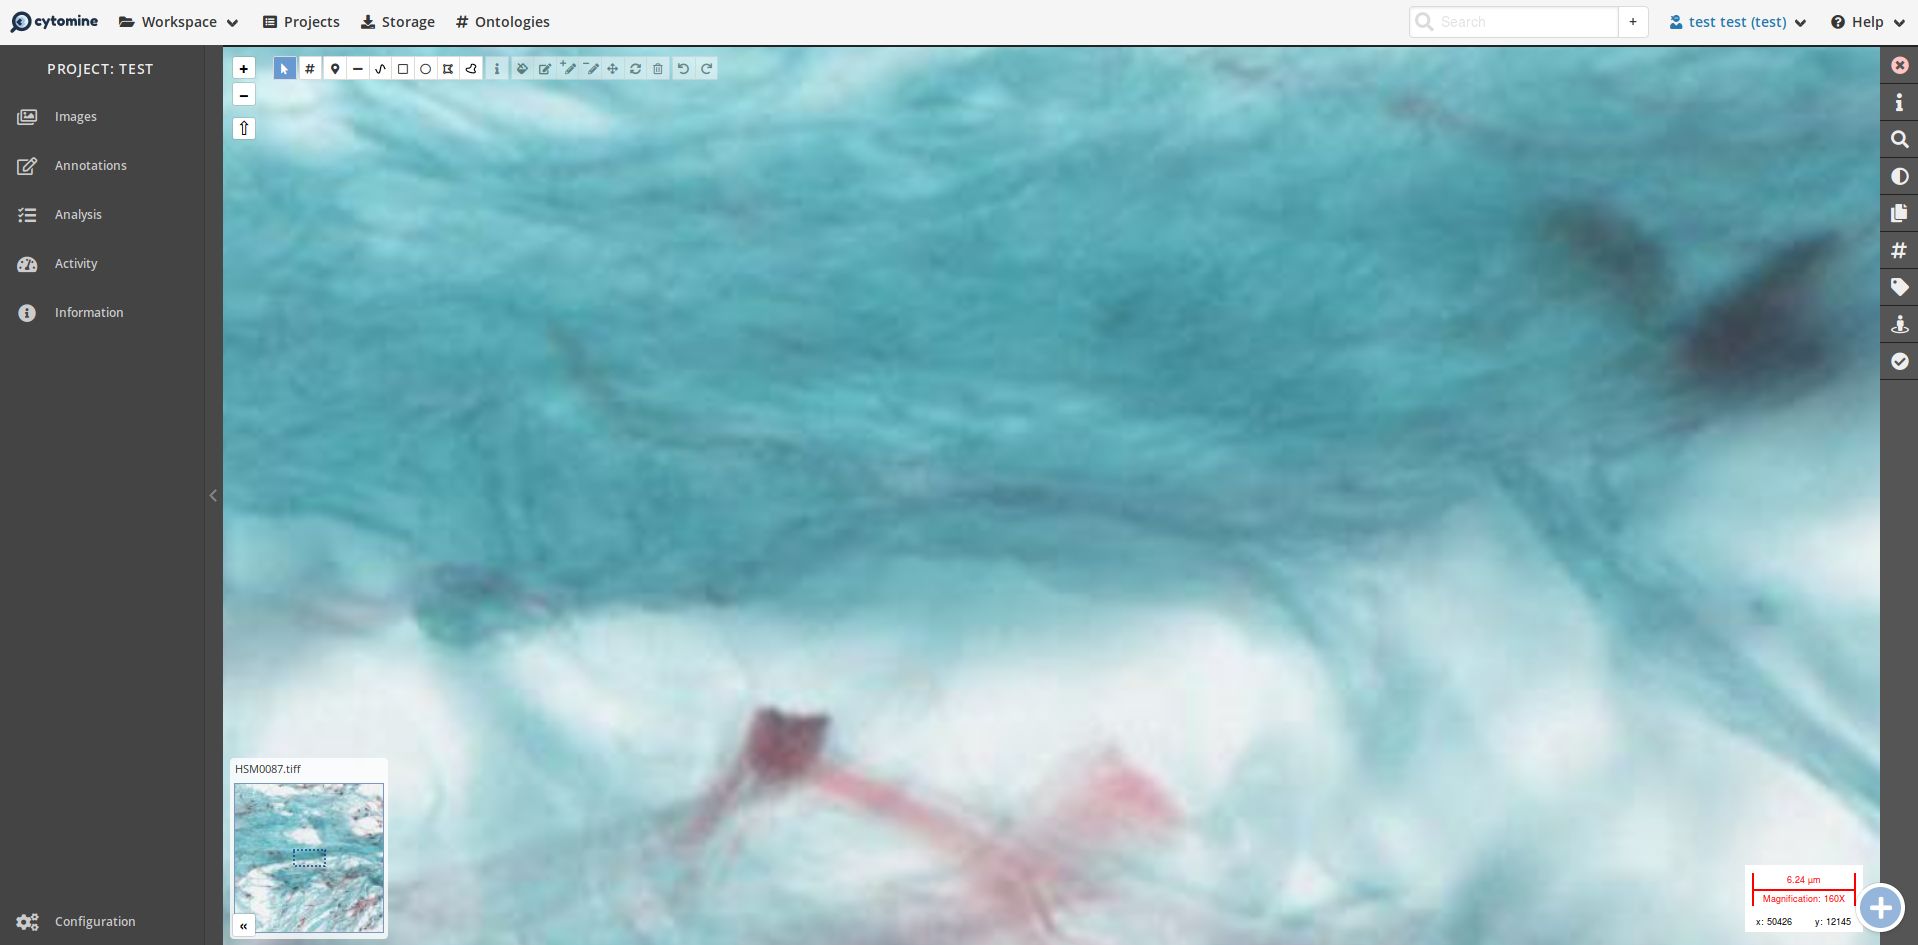
You will know that you are in the "digital zoom" when the scale bar is colored in red.
Note that the digital zoom can be disabled by an option in the right menu.
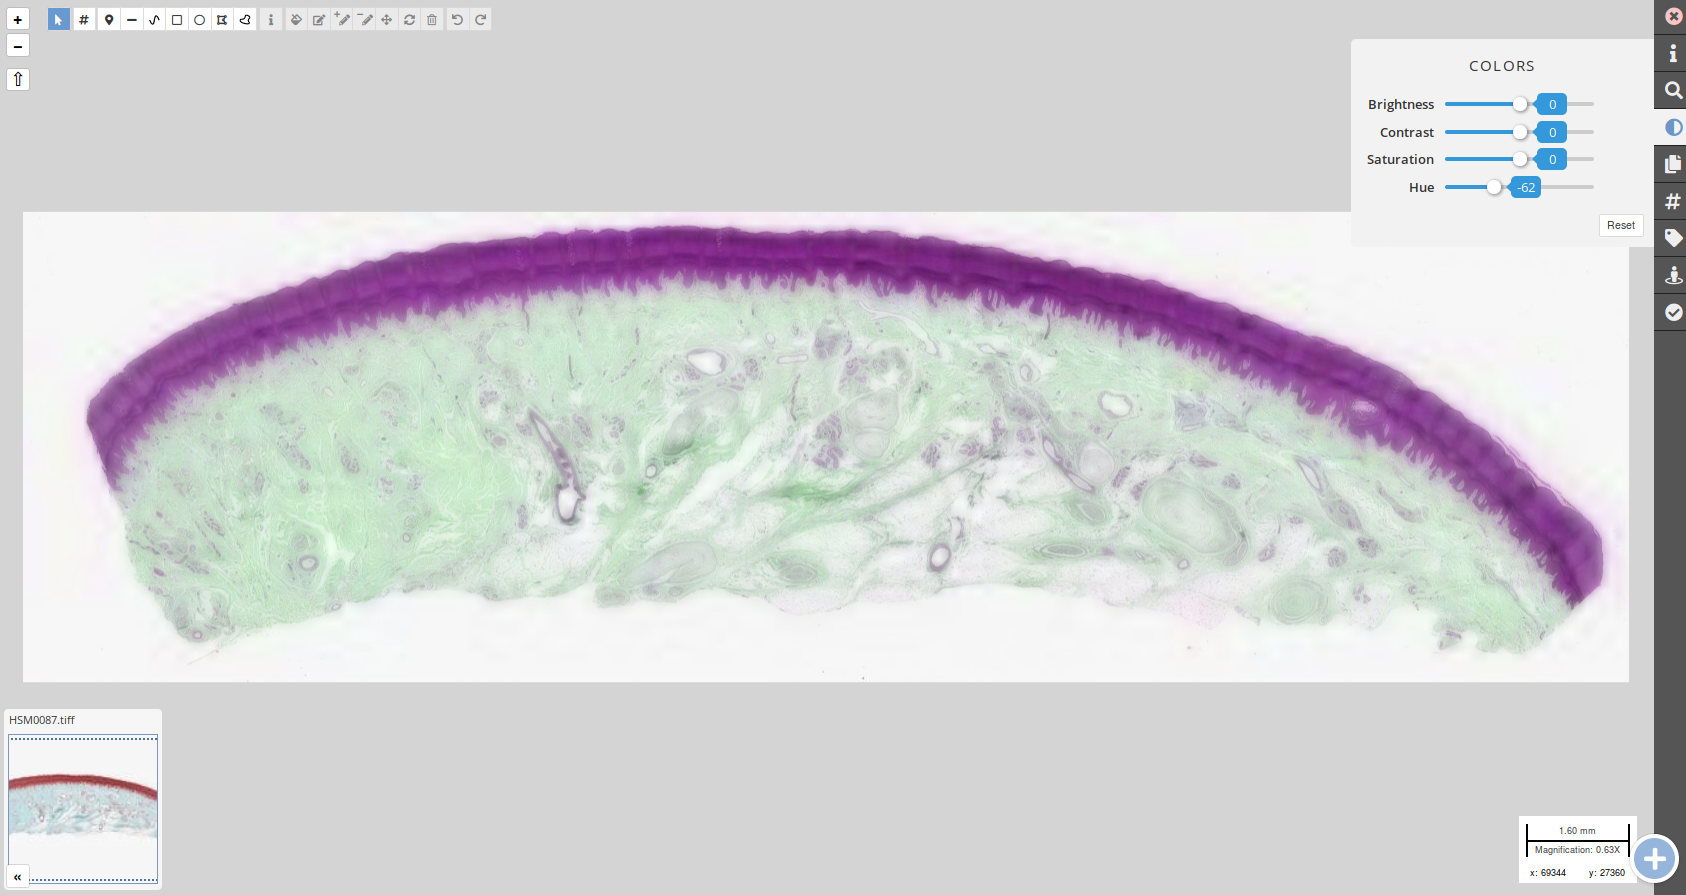
# Coloration
On the right menu, you will be able to change the following characteristics related to the visualization of the image:
- Brightness
- Contrast
- Saturation
- Hue
Please, note that it will not modify the image file but only your current visualization. Changes will not be saved.
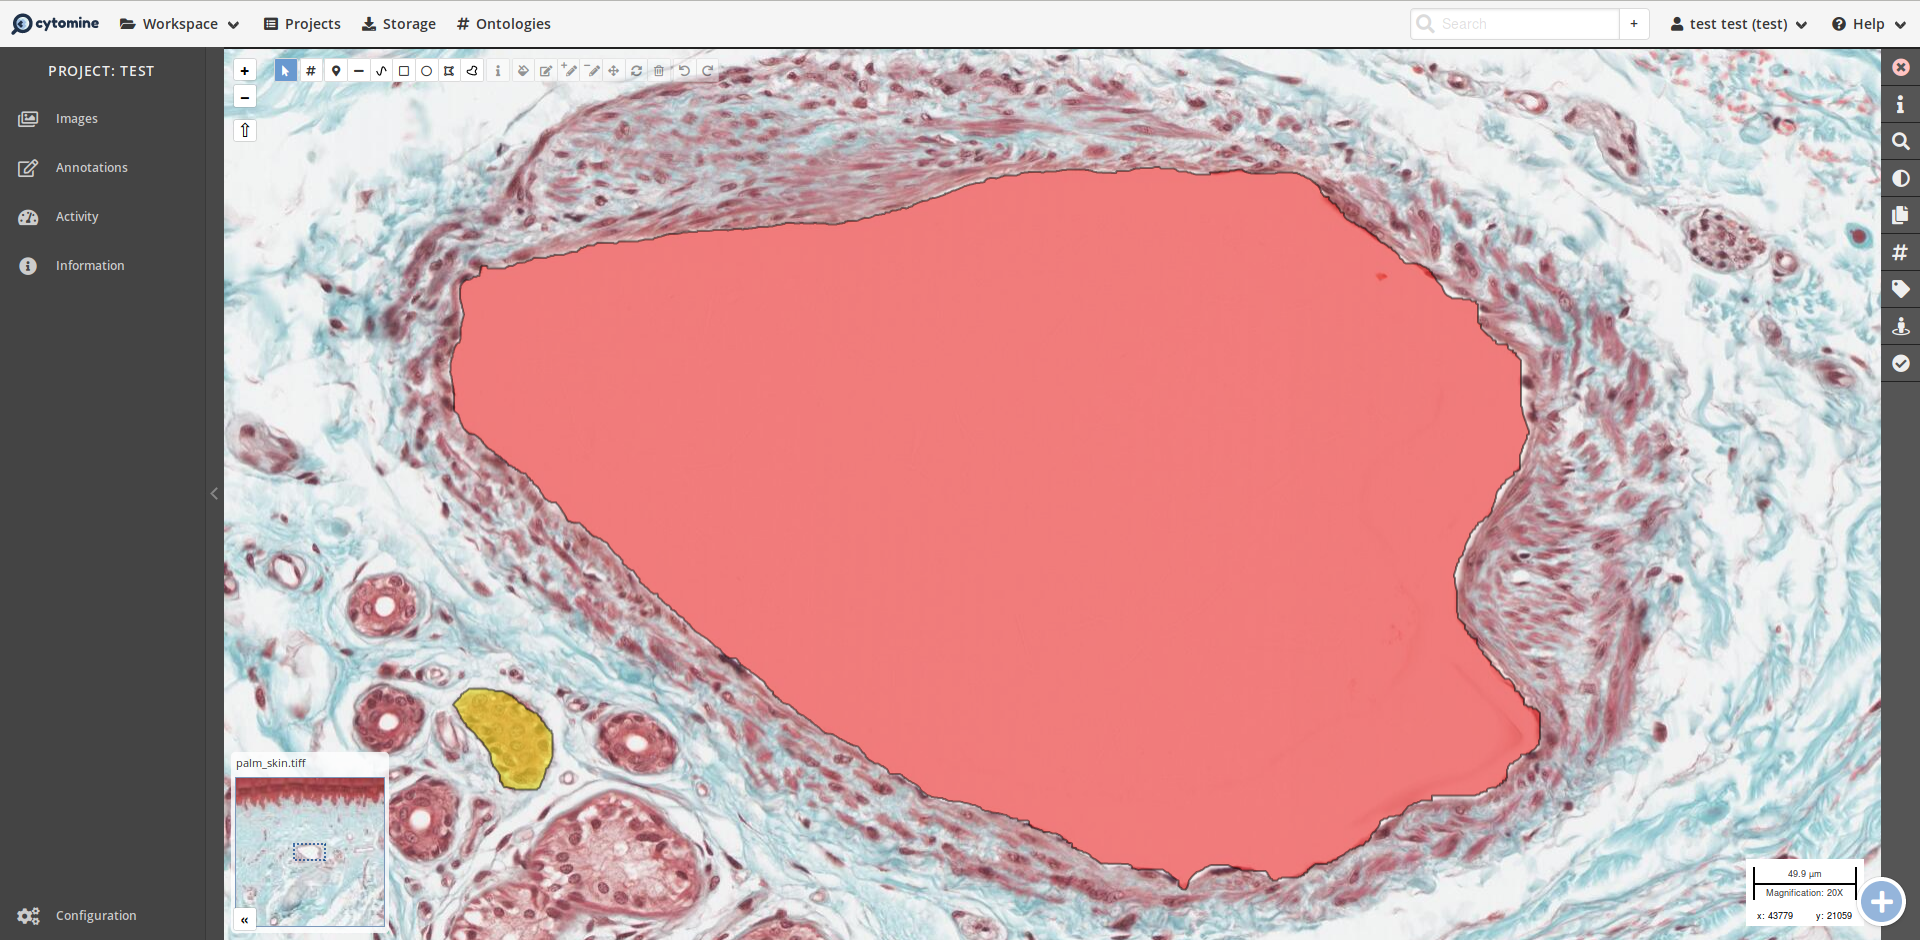
# Annotation coloration
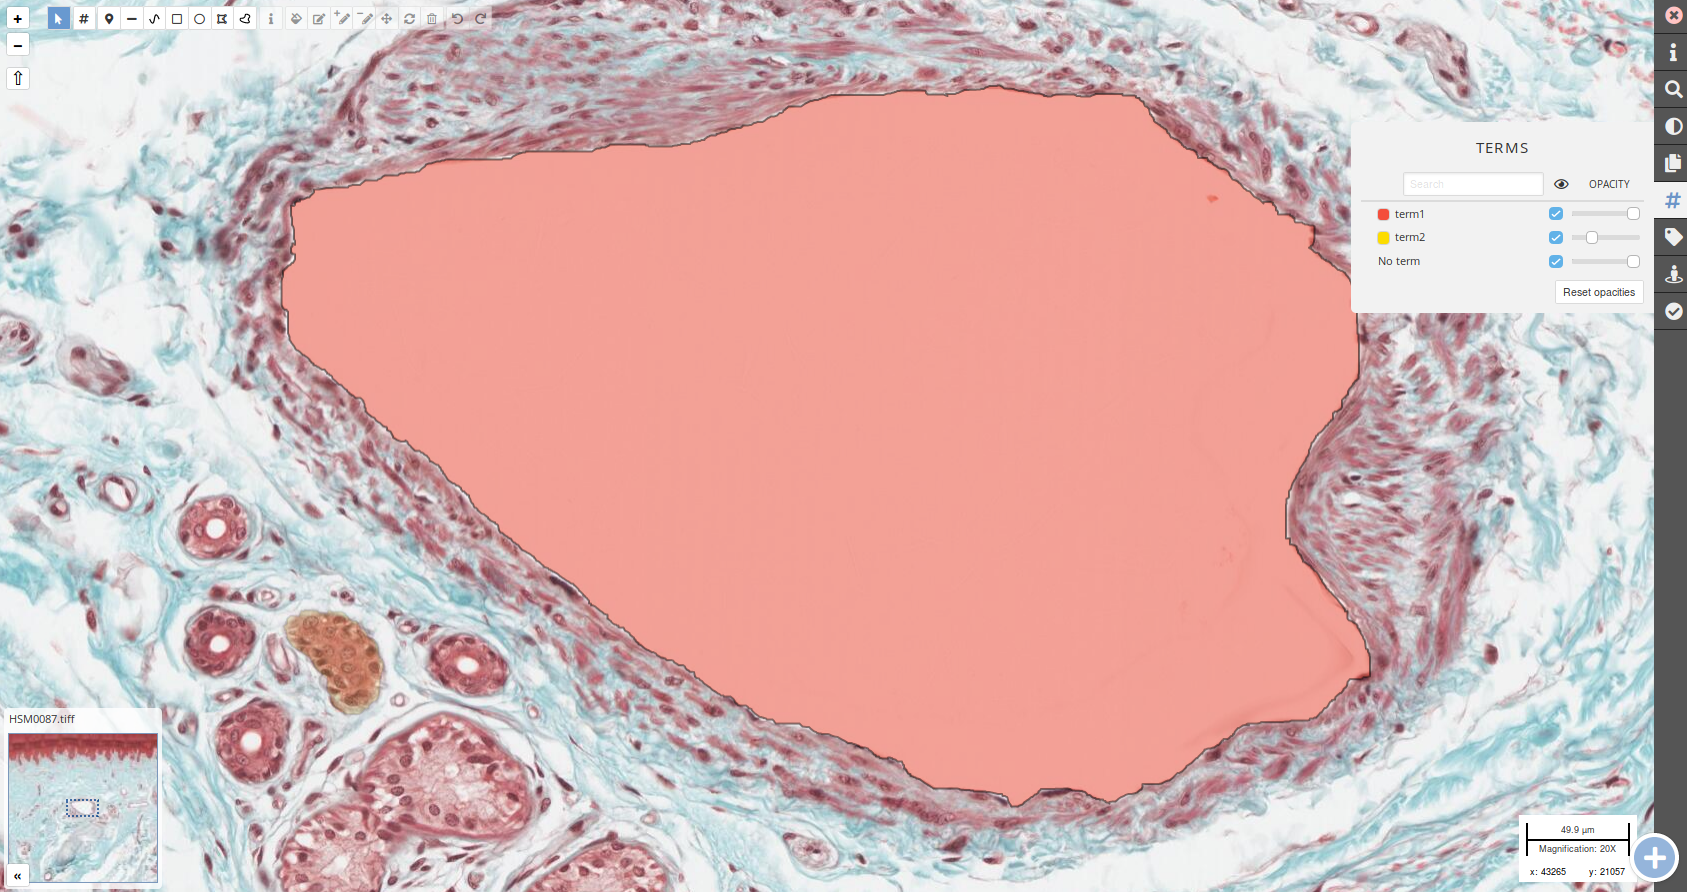
As you will see in the Annotation section, you can associate terms to an annotation. A term has a color to highlight it on the image.
You can change the opacity of the annotation layers via the right menu. As you can see on the following screenshot, the red term is lightly faded and the yellow term is barely visible.
# Collaborative exploration
# User position broadcasting
As Cytomine is a collaborative platform, you can choose to share your current position in the image with the other users of the project.
The other users will be able to follow your position in the image by synchronizing your screen.
If you change your location, the screen of the other users following you will refresh automatically to display your current location.
First, you need to allow the platform to broadcast your position to the other users.
In the same box on the right menu, other users will be able to choose to synchronize their screen with yours.
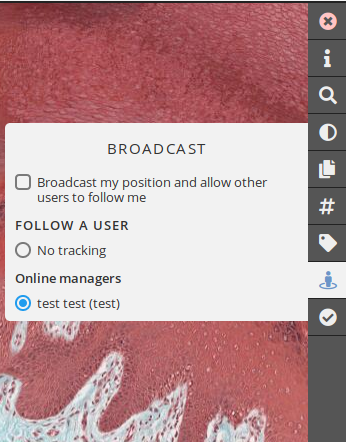
Once the followed user moves in the image or creates an annotation, the following user will automatically move to the same position and display novel annotations. Geographically distributed users can thus discuss remotely in front of the same image areas (using e.g. instant messaging or phone calls).
# Display multiple images
In the new Cytomine version, you can now browse multiple images (or have multiple view of the same image) in the same viewer!
To display multiple images, you need to open an image. Then, in the viewer, click on the big + icon at the bottom right of the viewer. A new panel will open at the bottom of the screen and you will be able to choose to open a different image or the same image again.
For this example, we opened the same image twice and a different image (also a palm skin). We have now a viewer with 3 images that we can browse, display layers, change coloration, rotate, ... independently.
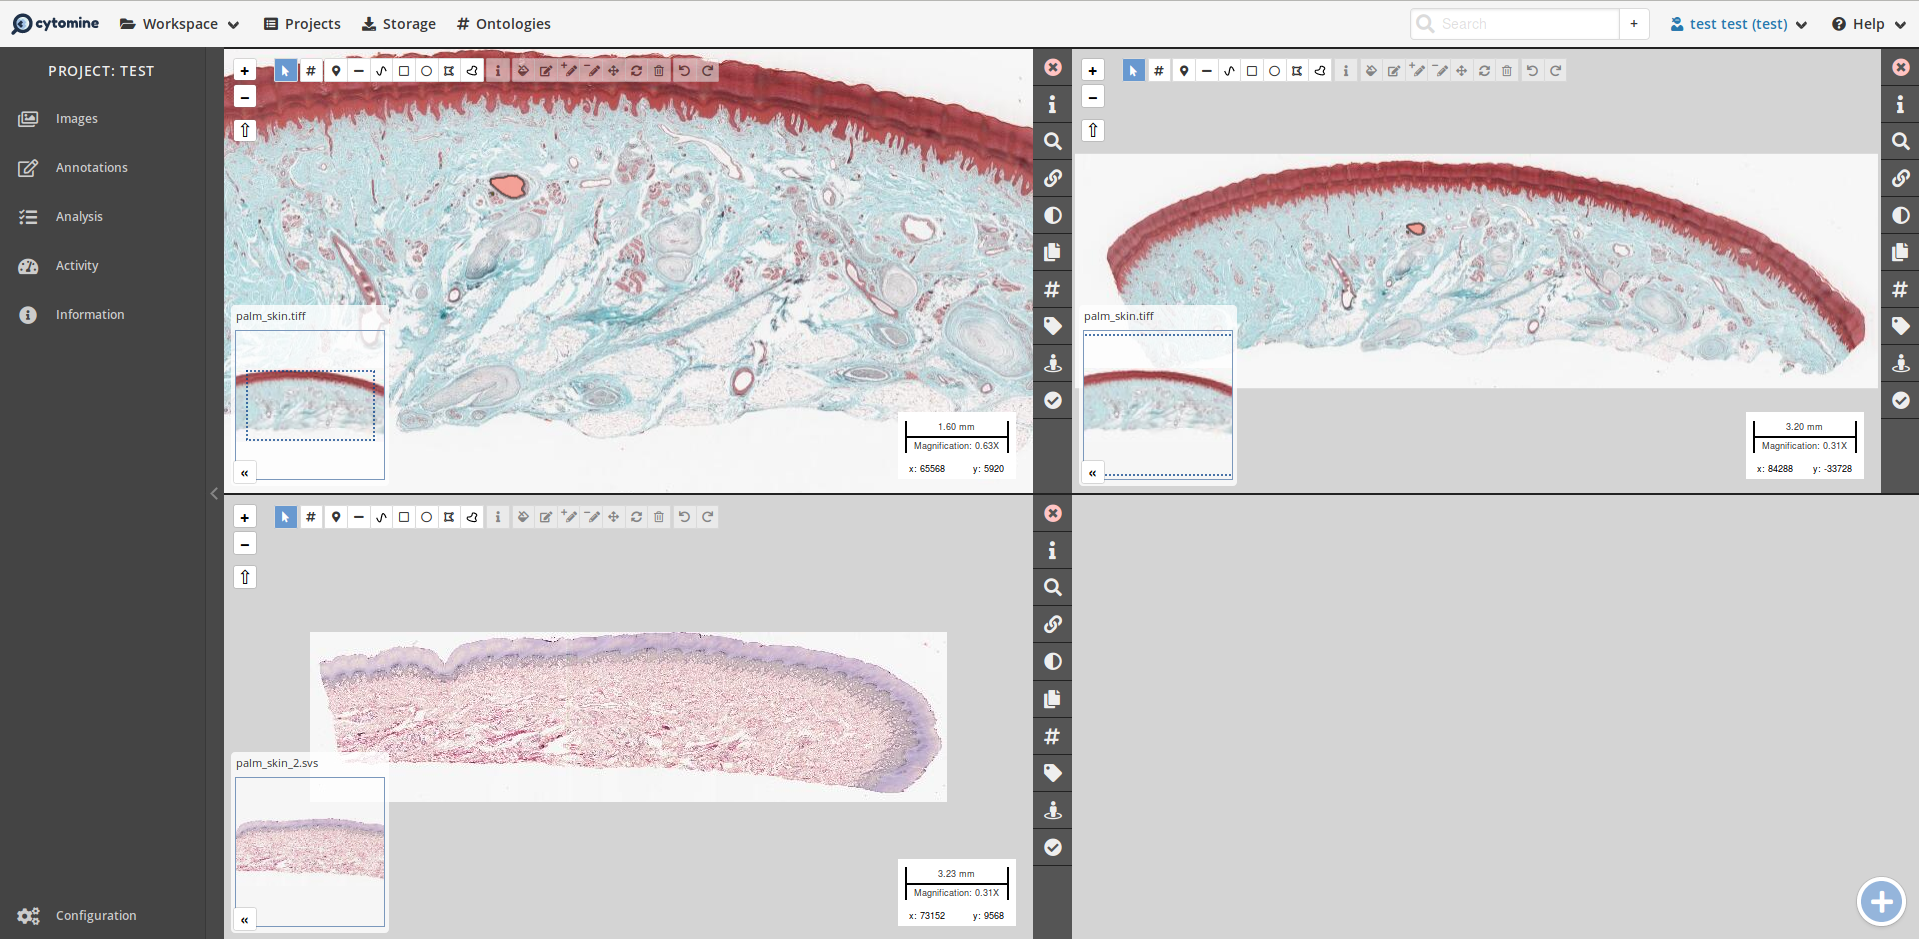
If you need to analyze differences between multiples images, you can also link an image with another with the new tab in the right menu of an image.
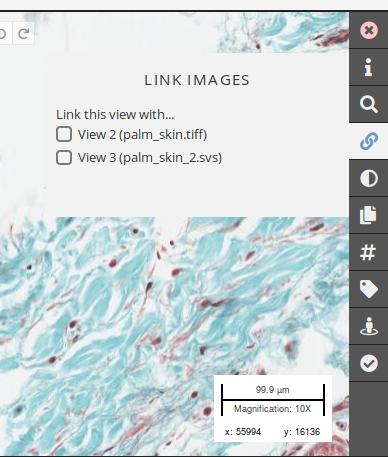
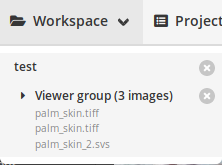
Once linked, the images will be browsed together allowing you to compare equivalent part of the images at the same time. The current viewer, composed of 3 images, is stored during the session in the Workspace drop-down menu.
← Ontology Image Group →