# Annotations
# Concepts
List of the main concepts related to a project:
- Annotation: A Region Of Interest inside an image. It can be a polygon, a multipolygon or a point.
- Annotation Layer: Each user has its own layer containing its annotations.
- Term: A word from the ontology. The color attribute is used to draw the annotation background.
- Ontology: A structured vocabulary of user-specified terms used for the semantic annotation of regions of interest in images.
# Ontology
Editing the ontology can be done through the Ontologies menu item or in a project by clicking on the ontology name in the project configuration which opens the Ontology editor. The editor allows to rename the ontology, add, edit, or delete terms from the ontology. It has to be noted that Term names and colors can be changed afterwards but not the chosen ontology at the project creation.
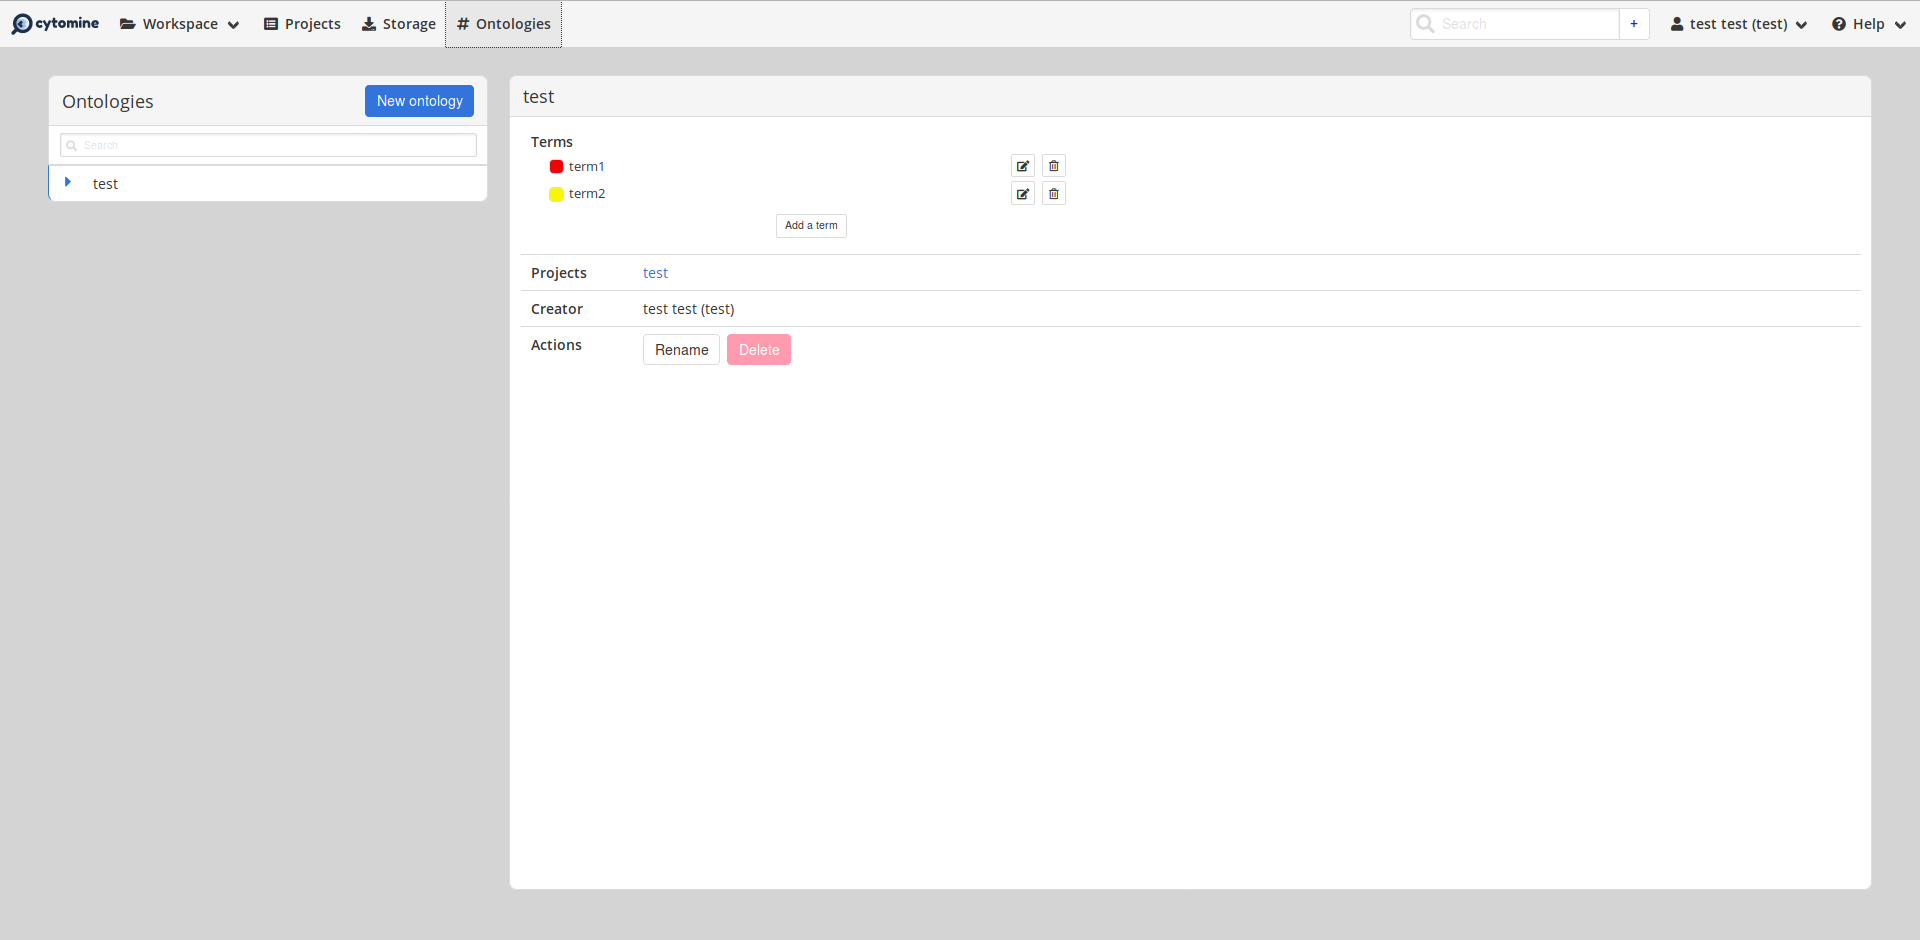
Once the ontology is defined, one can start semantically annotating whole-slide images. You can define the annotation without terms but your annotations will be simple Region Of Interest without a semantic meaning.
# Create an annotation
Open an image and select one of the annotation tools in the navigation bar at the top of the browsed image.

- Select: Allows you to select an annotation.
- Association: It opens a term selection box and allows you to select a default term to associate to the annotations that you will draw.
- Point: Create an annotation representing a particular point in the image. The area is equal to 0.
- Line: Create a straight line.
- Freehand line: Create a freehand line by clicking then dragging the mouse.
- Rectangle: Select a point in the image, click to fix one corner of the rectangle then move your mouse and click to set the opposite corner.
- Circle: The clicked point will be the center of the circle. Move your mouse to change the radius.
- Polygon: Each clicked point will be a vertex of the polygon.
- Freehand polygon: Allows you to create freehand drawing. Click somewhere on the image and drag the mouse to continuously draw the annotation.
- Info: Allows you to display or hide the information box of the selected annotation (enabled only if an annotation is selected).
- Fill: Allows you to fill holes inside an existing annotation. You must select the annotation to fill before clicking on the Fill button.
- Modify: Allows you to select a side of an annotation and drag it to modify the selected annotation.
- Pen +: Allows you to add a Free Hand drawn ROI to an existing annotation.
- Pen -: Allows you to delete a Free Hand drawn ROI to an existing annotation.
- Move: Drag the selected annotation to move it on the image.
- Rotate: Allows you to rotate an annotation around its centroid.
- Delete: Allows you to delete the selected annotation.
The two following buttons are not dependent of the selected annotation!
- Undo/Redo: Allow you to cancel (resp. restore) the last modification made on an annotation of the image.
# Terms, Properties and Descriptions
# Terms
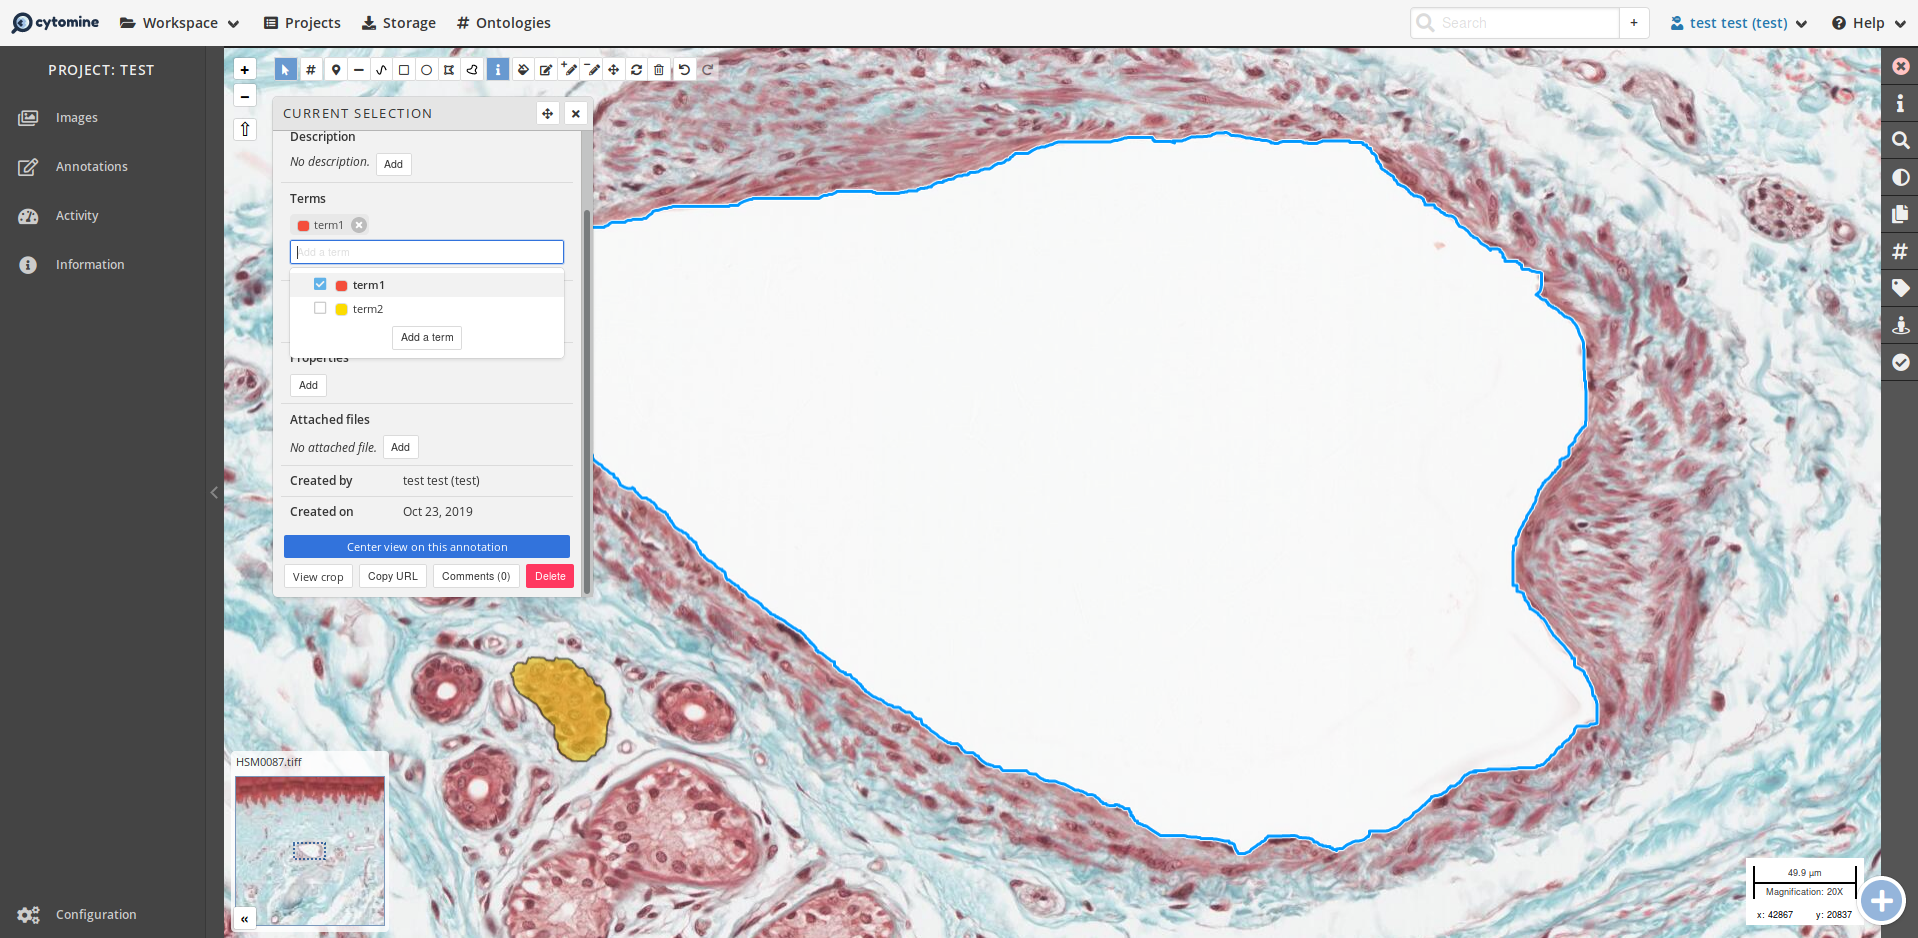
Once you have drawn an annotation, you can add a semantic meaning to it by associating a term of the project ontology. To change the terms associated to an annotation, select the annotation then, in the information box, add or remove the corresponding terms.
# Properties
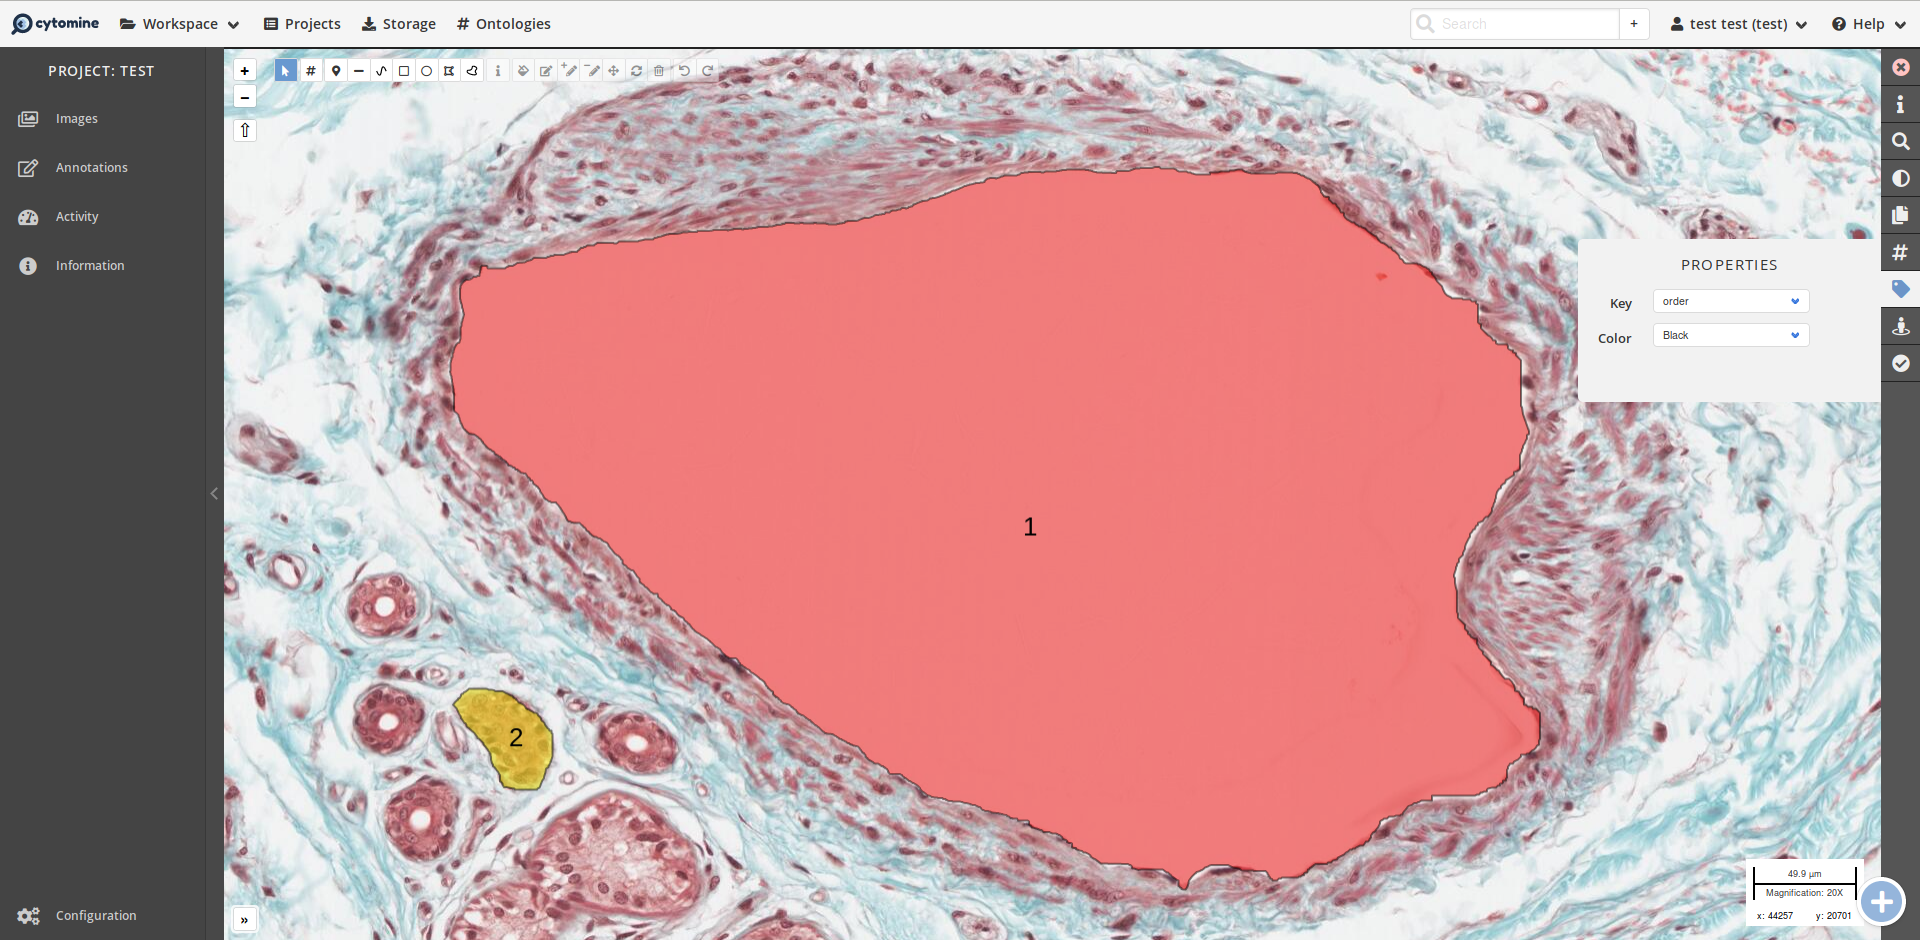
Complementary to terms, you can add properties displayable on the image.
In the information box, you will be able to see the list of the properties associate to the current annotation.
By clicking on the Add button, you will be able to add a key-value property to the annotation.
Then, on the right panel, when you choose a key, all the properties with this key will display the corresponding value through the annotations.
# Descriptions
You can also add complete descriptions to an annotation via the information box of a selected annotation. The Rich Text Editor allows you to format your description and add images, link to videos, etc.

# Annotation Layers
Each user has its own layer containing its annotations. By default, you only see your own layer when you open an image.
You can add other user layers to see their annotations by adding them to the current loaded layers.
To that end, in the Annotation Layers panel, select a contributor from the drop-down list and click on the Add button.
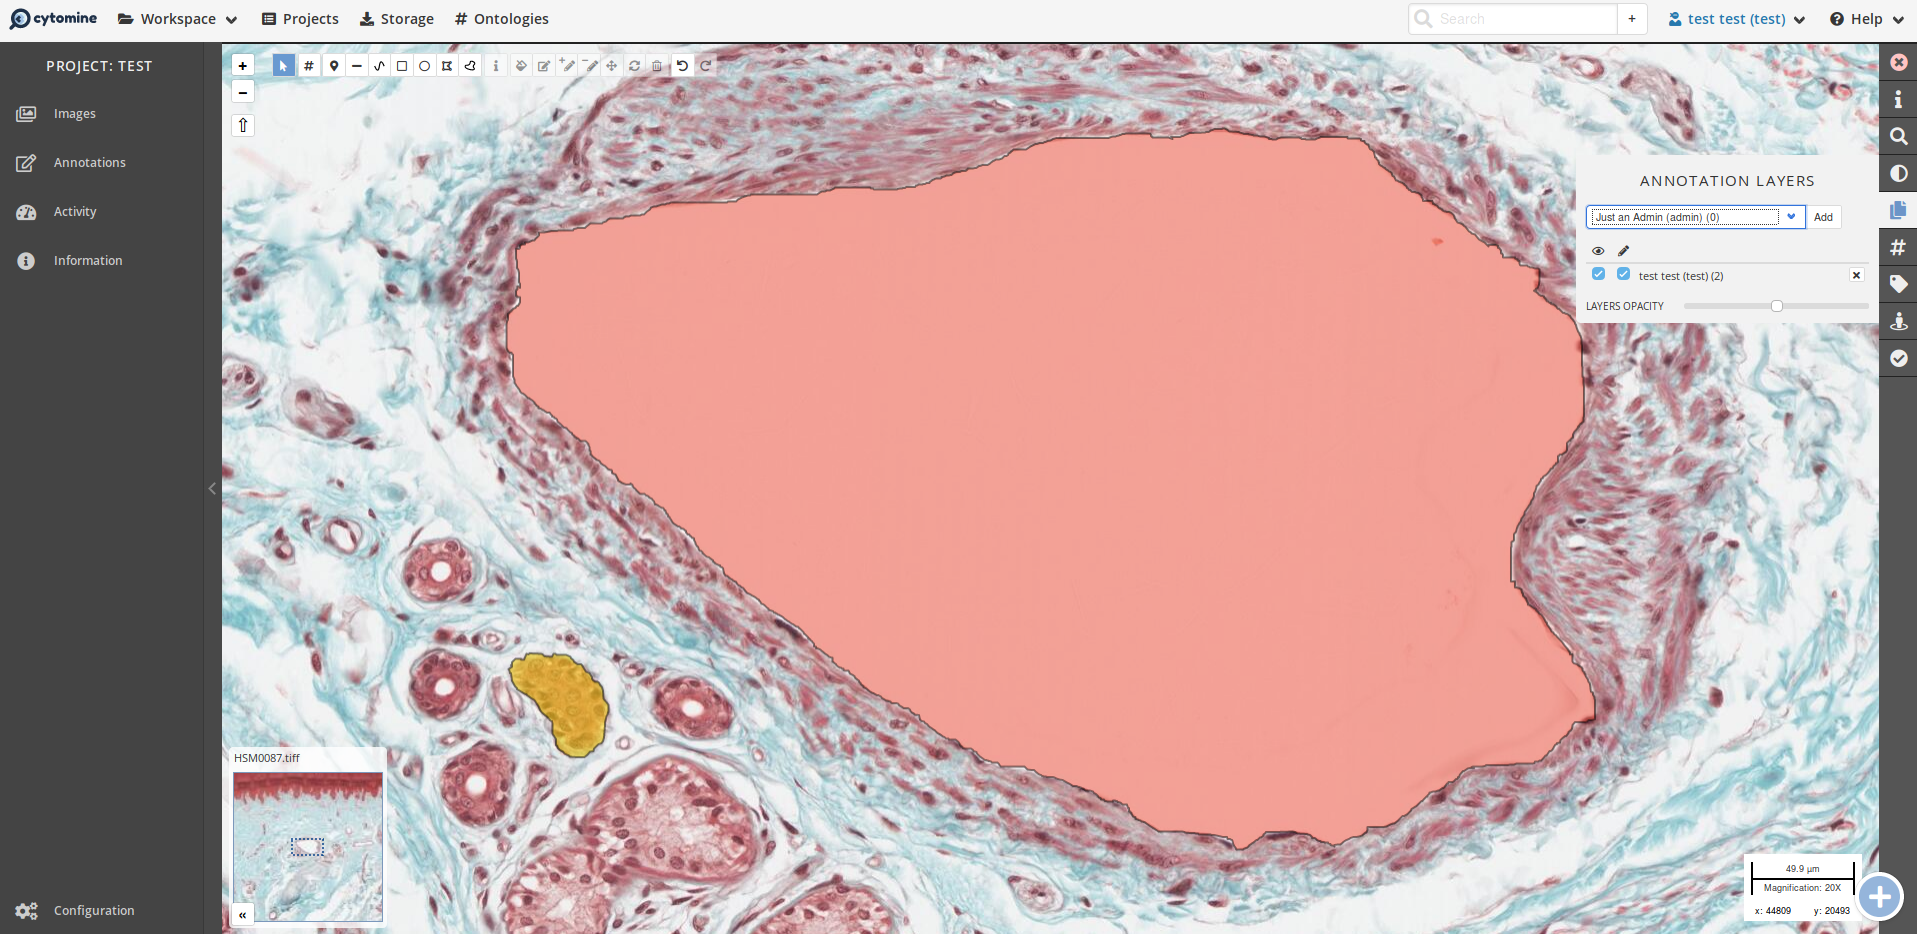
You can now see the annotation of the Admin user on the image. For each layer, you can
- View or hide it. It is the first checkbox.
- Enable or disable modification on it. It is the second checkbox. It is possible to modify other user layers if the manager of the project allows it.
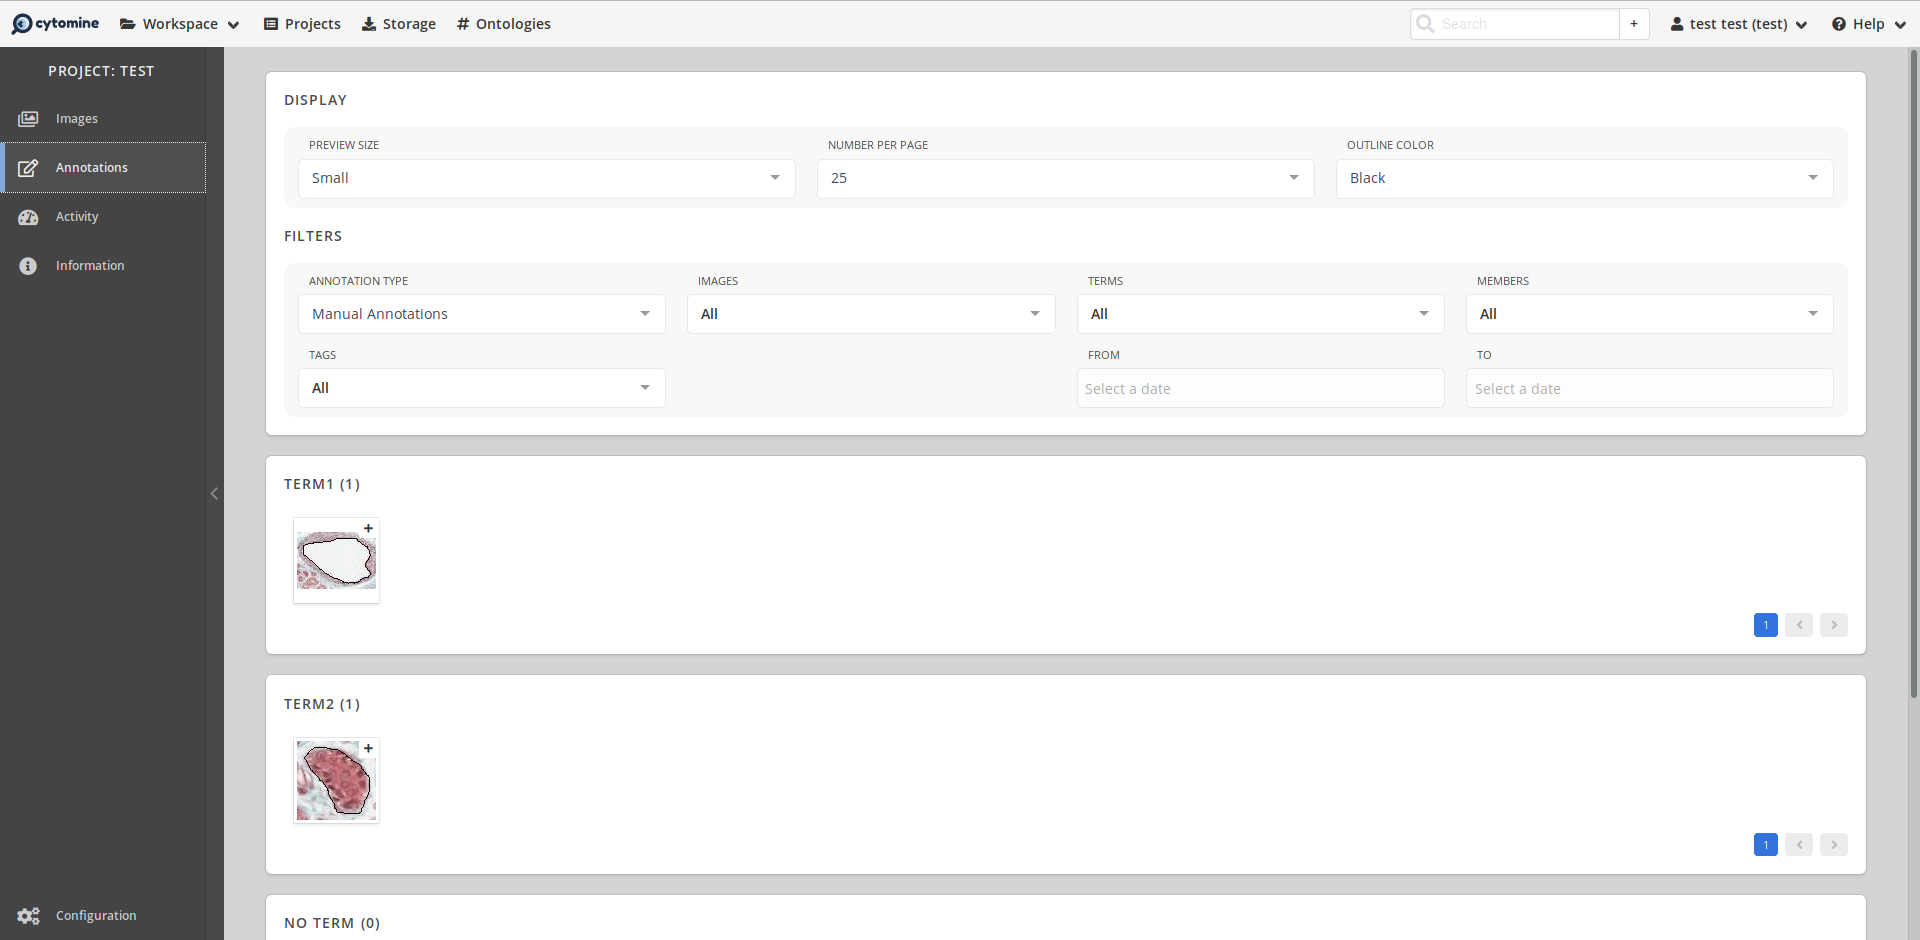
# Annotations tab
The annotations tab is a panel dedicated to listing all the annotations in the project with filters on the contributors, the images and the terms. The corresponding annotations are displayed in squared boxes and the information box associated to this annotation can be displayed by clicking on the + icon. If you click on a box, you will be redirected to the image at the right zoom & location to see the selected annotation.
