# Getting started
# Get an account
There are three main ways to get a personal account:
- If you have Cytomine installed at your institution, ask an account from your local administrator.
- Ask for an account on our demo instance via email at uliege@cytomine.org.
- Install Cytomine on your laptop or your server (for Linux users only).
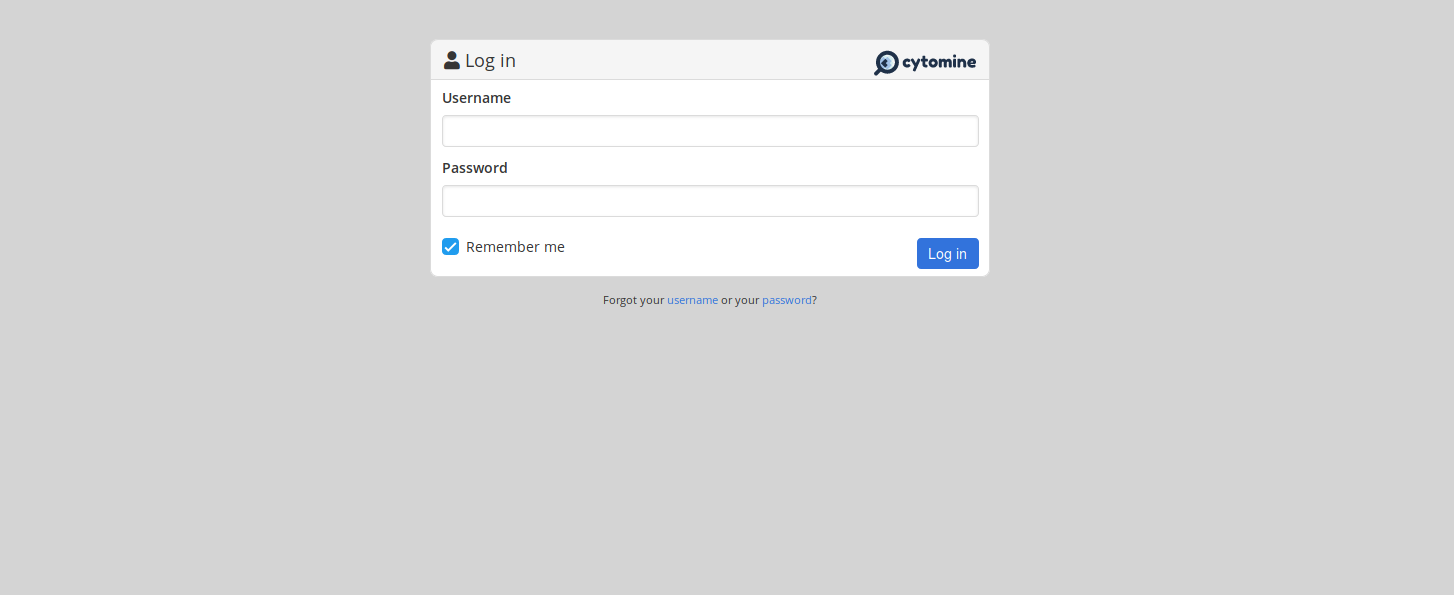
When you have a username and a password, go to the login page and ... Welcome to Cytomine!
# Your dashboard
Once logged in, you are redirected to your dashboard. It contains your recent activity, the last opened image and some statistics. If it is the first time you log in to Cytomine, it is quite empty as you don't have any activity yet. When we will have some projects and images, your dashboard will be like the following screenshot.

At the top of the screen, the Cytomine navigation bar allows you to access different spaces in order to manage your projects, ontologies and your uploaded images. These concepts will be further detailed in this guide.

At the right, the quick search form allows you to search projects and images by their name. If you need an exhaustive list for your search, click on the + icon to be redirected to the advanced search panel.

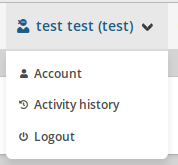
Next to the quick search bar, at the top right of the screen, the account drop-down menu (displayed with your name) lets you find information about your personal account and your activity on Cytomine.
# Your account page
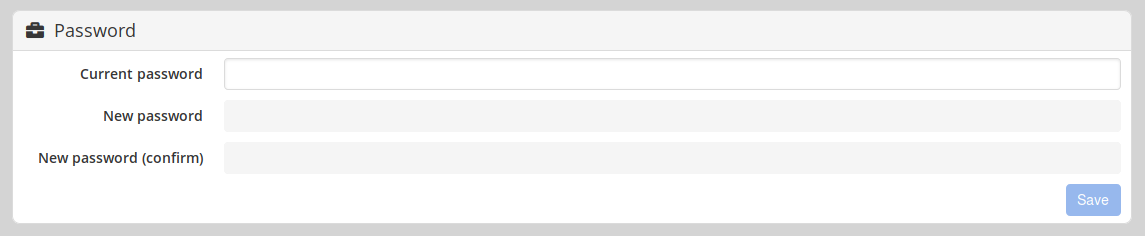
In the account drop-down menu in the top navigation bar, click on Account

and change your password.
You will see some connection keys. They will be explained in the Developer Guide.
# Upload an image
In this guide, we will upload one image of the University of Namur (opens new window) available through the Cytomine Open Access Collection (opens new window) as an example.
Go to the Storage space to see your personal storage.
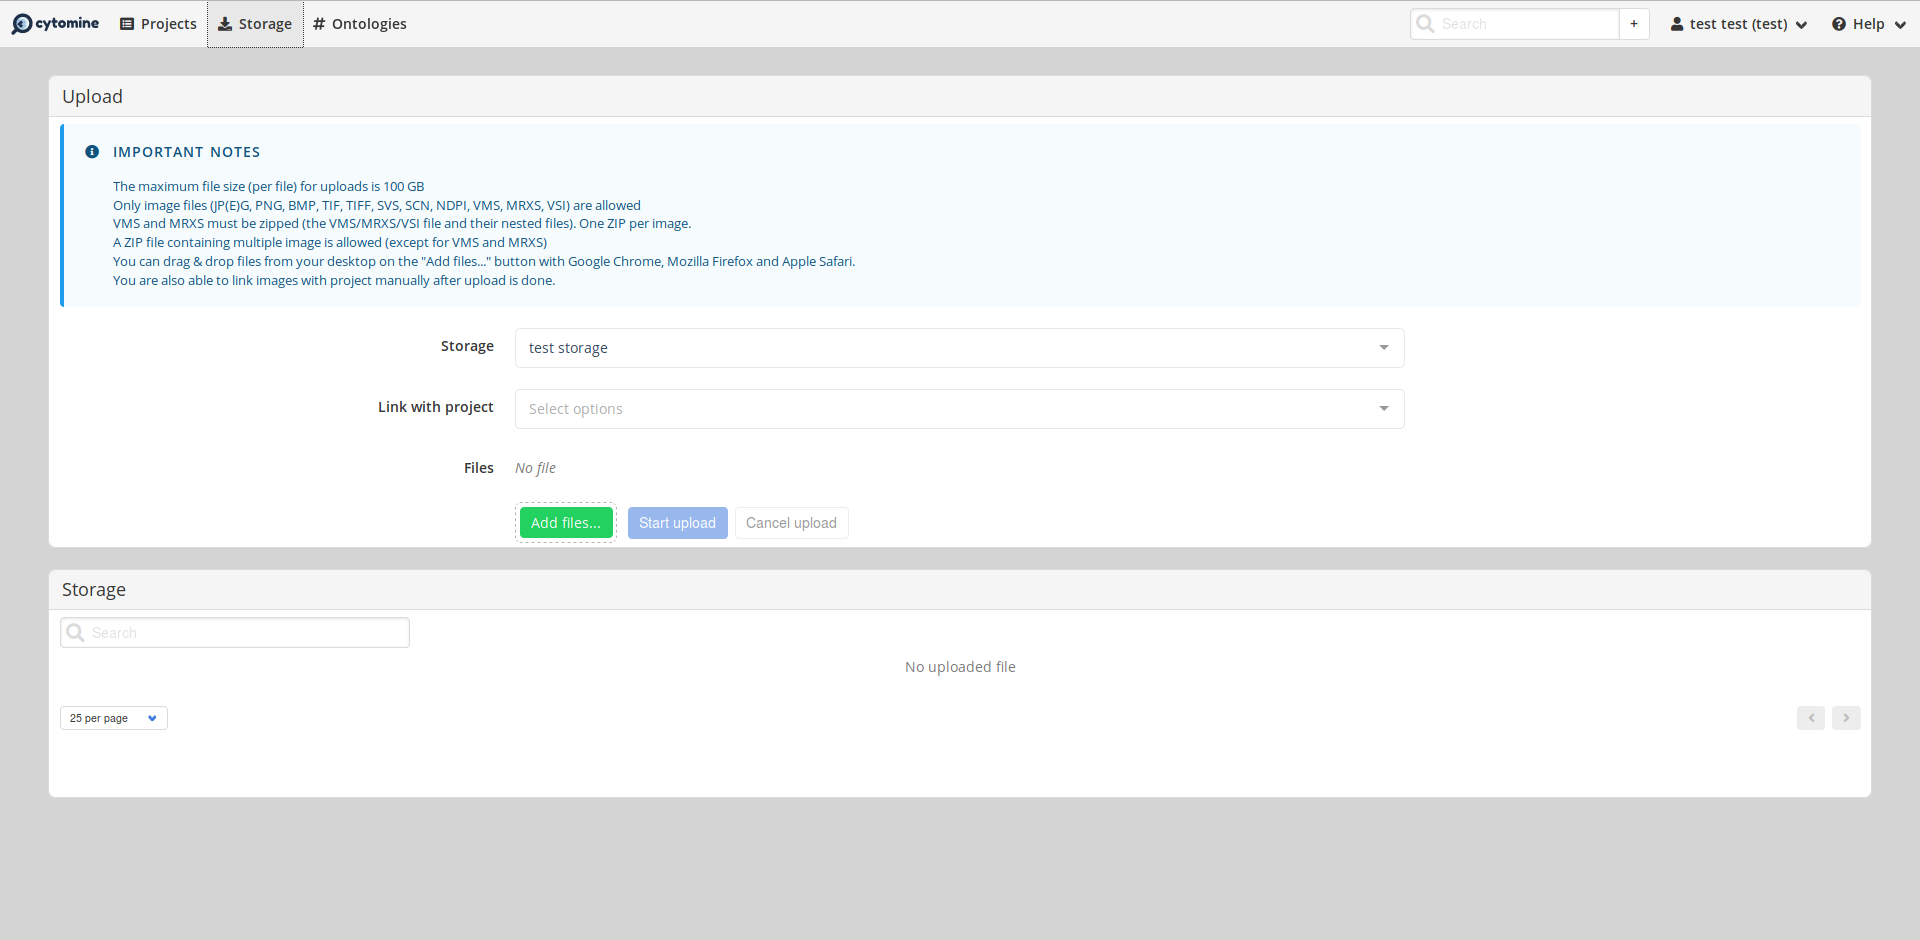
This is the right place to upload your images before visualising them in Cytomine.
Add one or several images at once with the green Add Files button. Then, click on Start upload to launch the import of your images to Cytomine. Once the images are fully imported, they will appear in the Storage panel. These images are ready to be added to a project in order to visualize them, as we will see in the next steps of this guide.
# Create a project
A project is a working space where you can organize, visualize, annotate and analyze images. This working space can also be shared between multiple Cytomine users.
Go to Project space to see the list of the projects you have access to. Each line corresponds to a specific project.
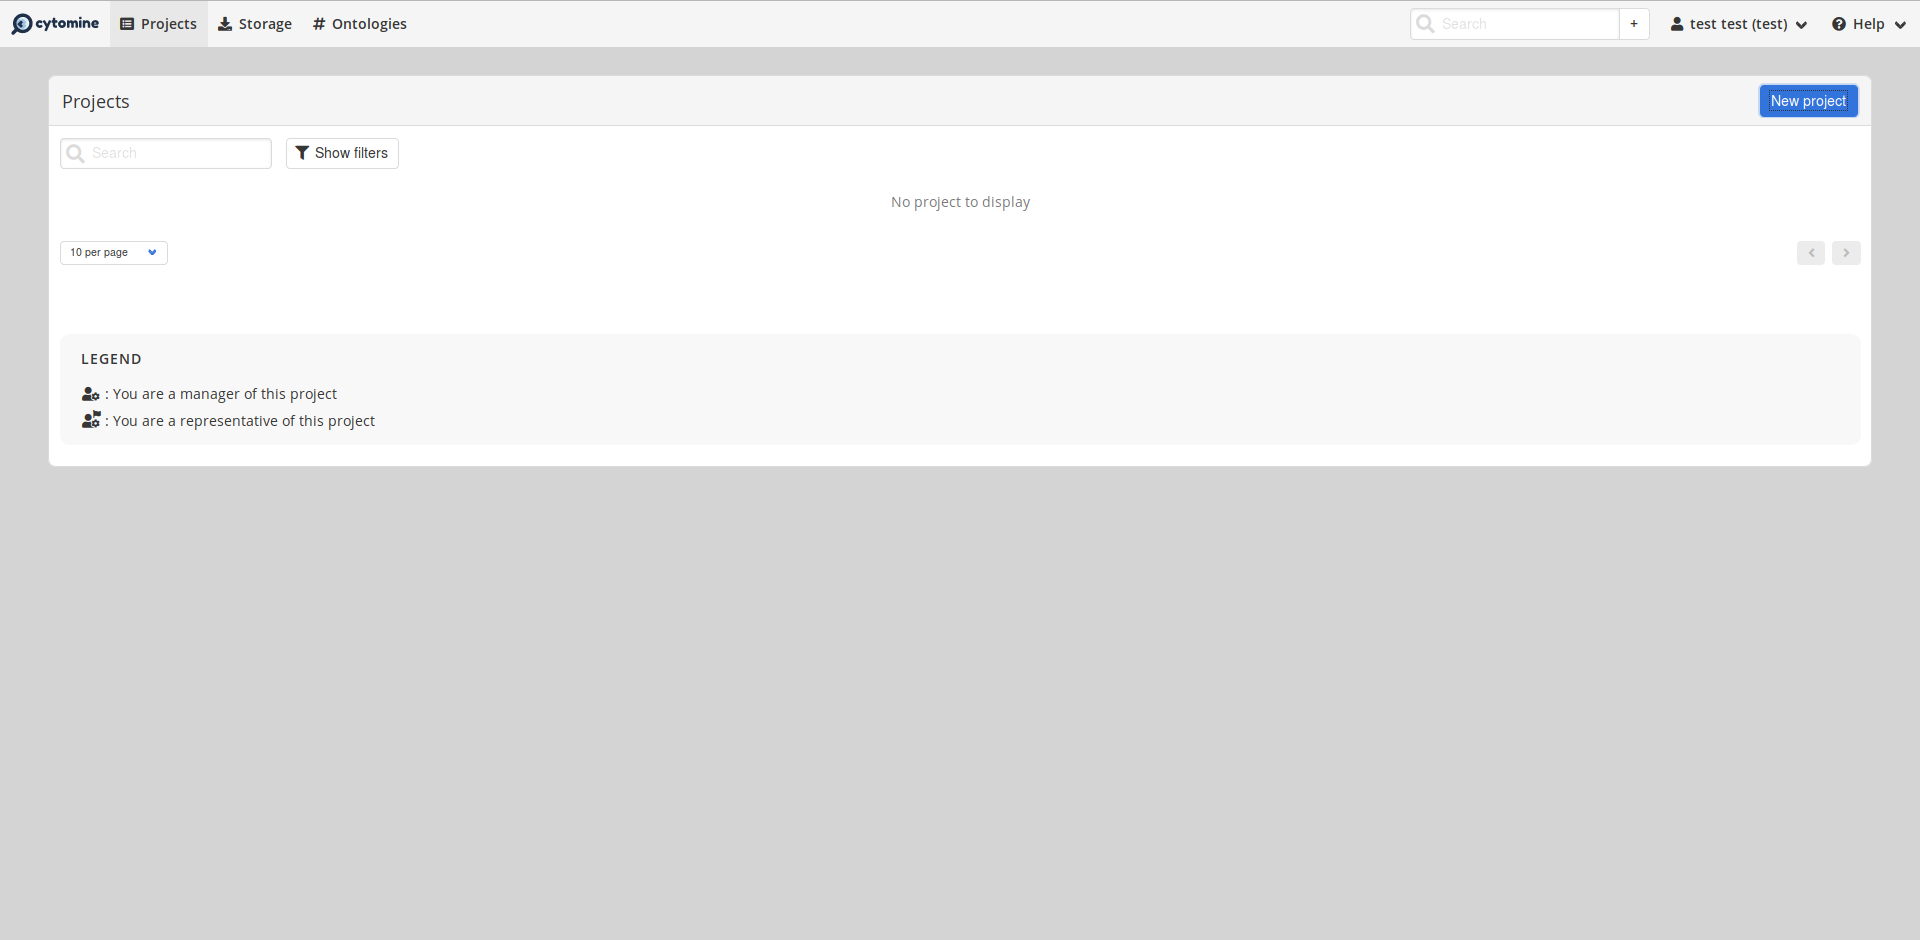
To create a new project, click on the New Project button. A pop-up is displayed.
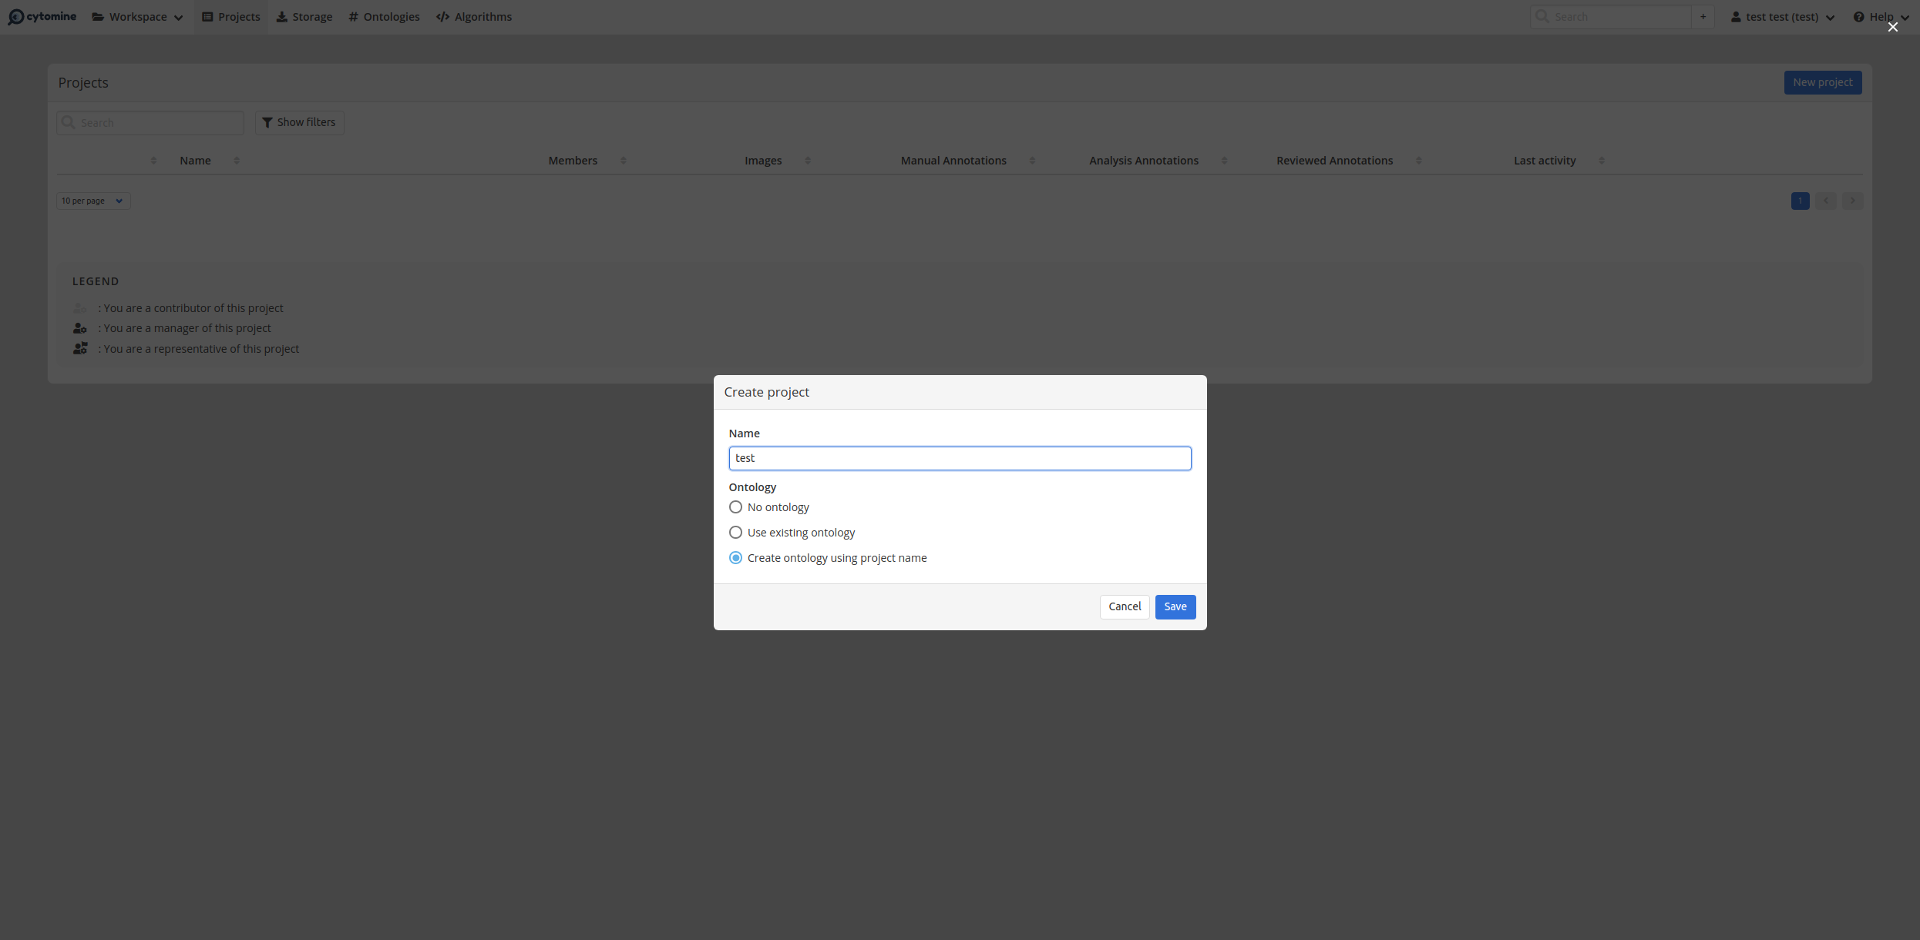
Give a name to your project, then choose the project ontology. You can either
- not use any ontology for your new project,
- associate this new project to an existing ontology,
- create a new ontology with the same name as this new project.
In this Getting Started guide, we will use the third option.
Then, create the project by clicking on the Save button. You are automatically redirected to the configuration page of this newly created project. At this stage, we will keep the default project configuration.
Return to the project list by clicking on Projects in the Cytomine navigation bar. There is a new line corresponding to your new project. This line can be extended to display the details of the project.
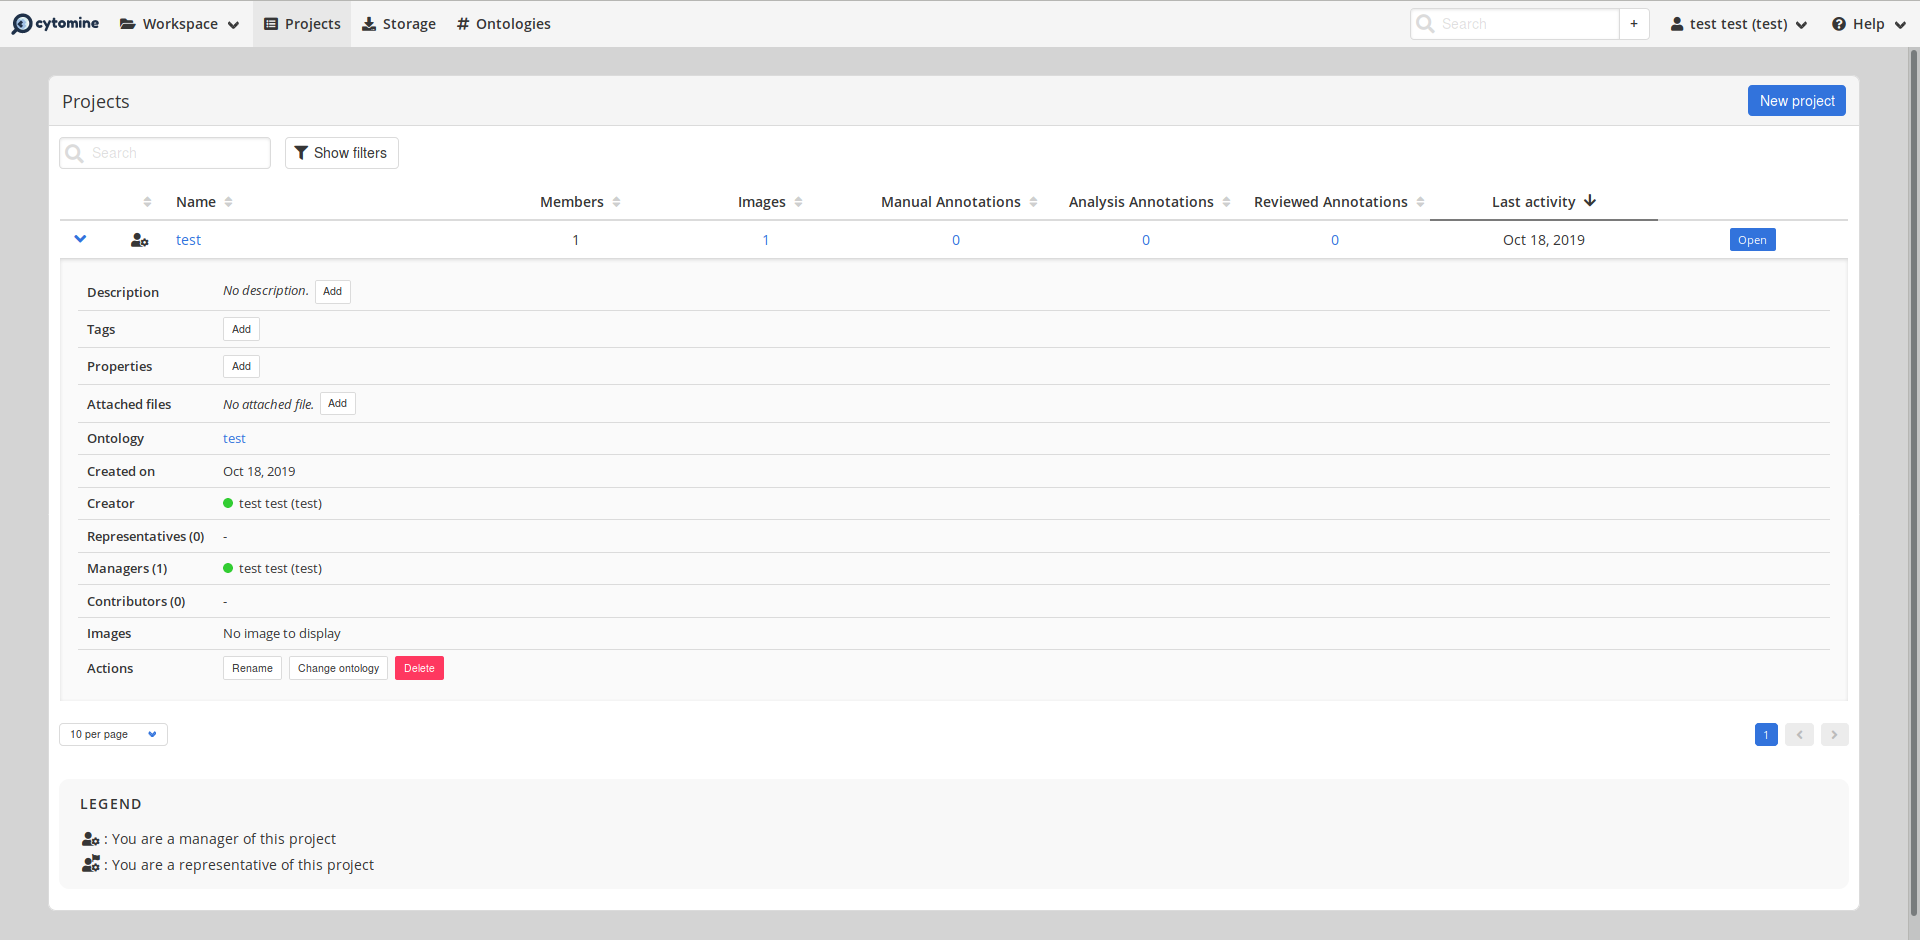
You can enter into your new project by clicking on the project name or on the Open button.
# Add images
To be able to interact with the images, we need to associate them with our current project. Go to the images panel and click on the "Add image" button. You will see a list with all your previously uploaded images.
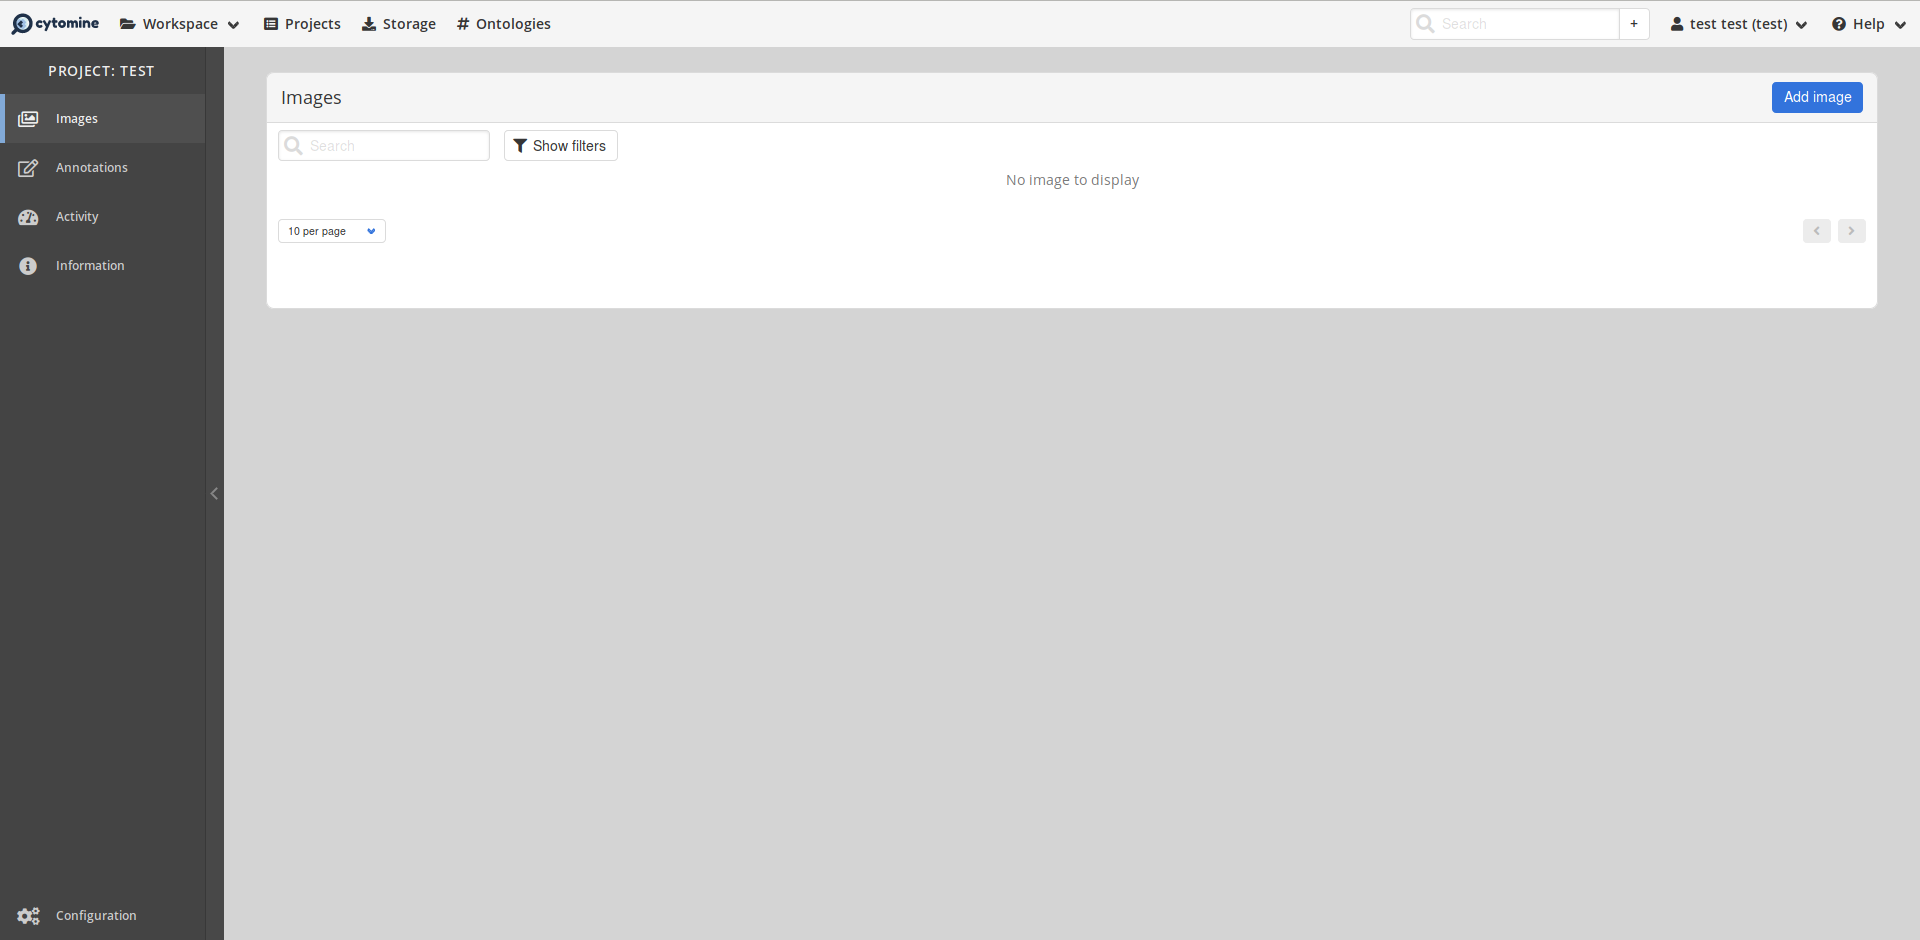
Click on the "Add" Button for an image then close the pop-up to see the selected image displayed in the image list.
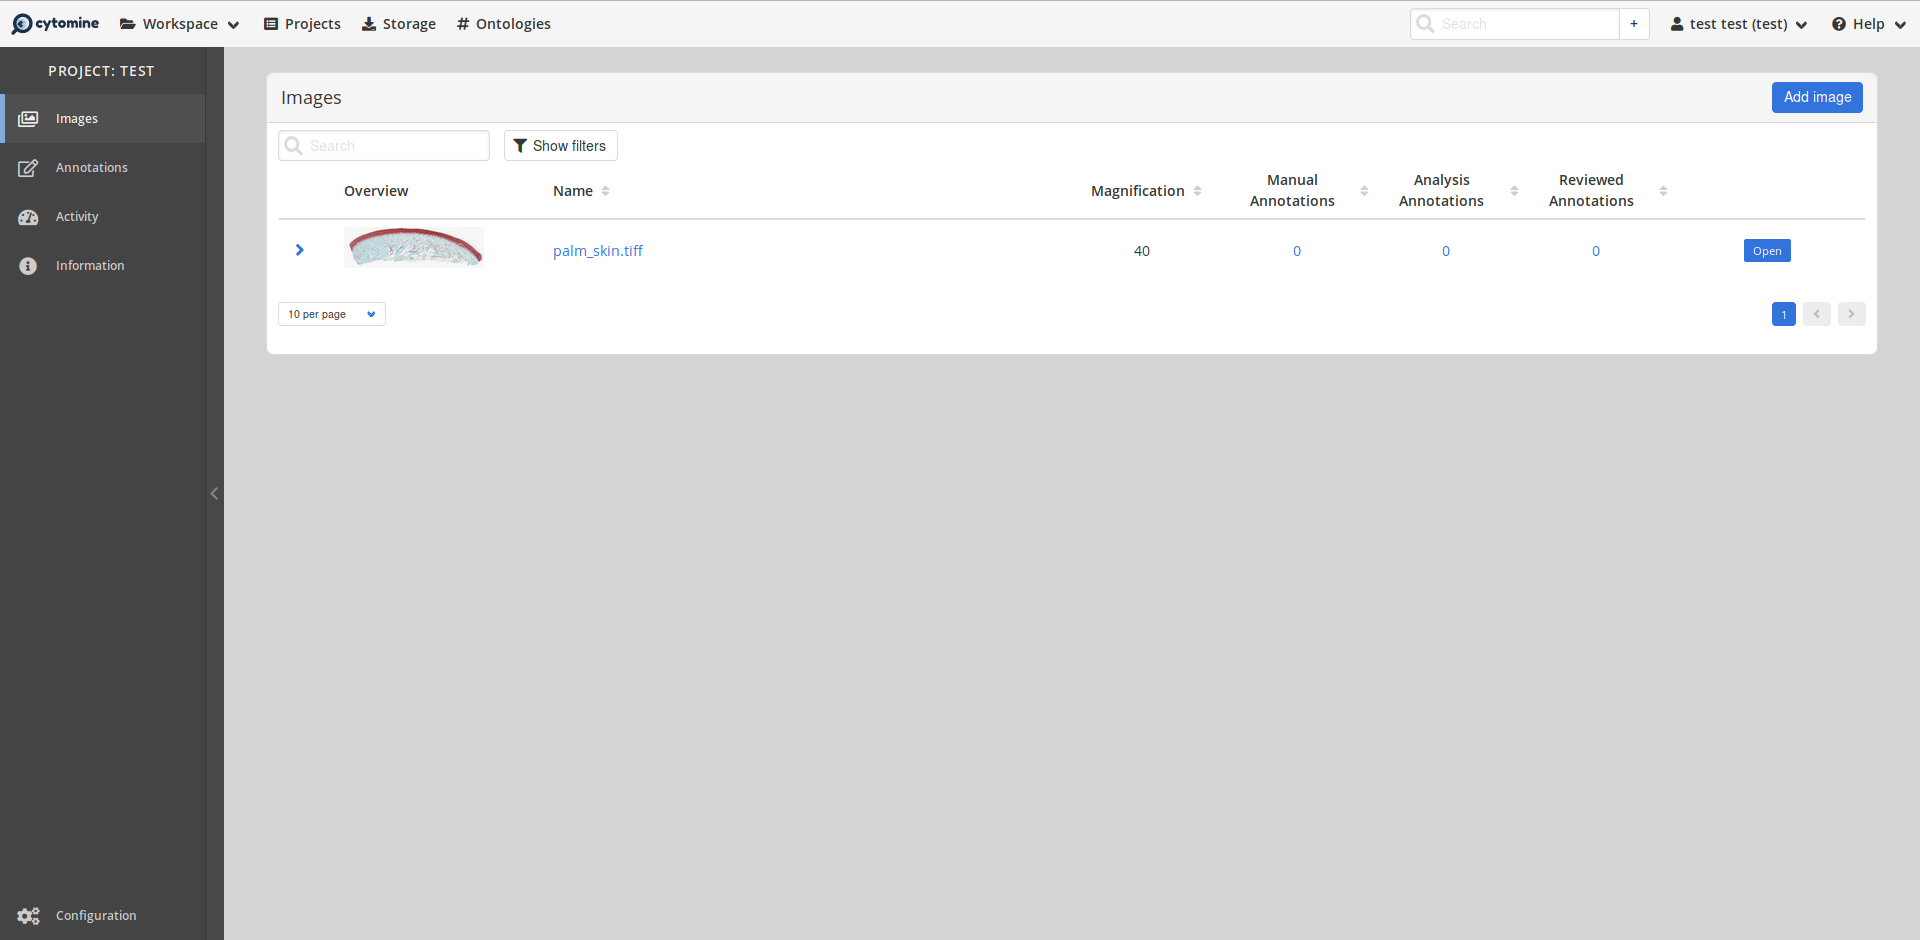
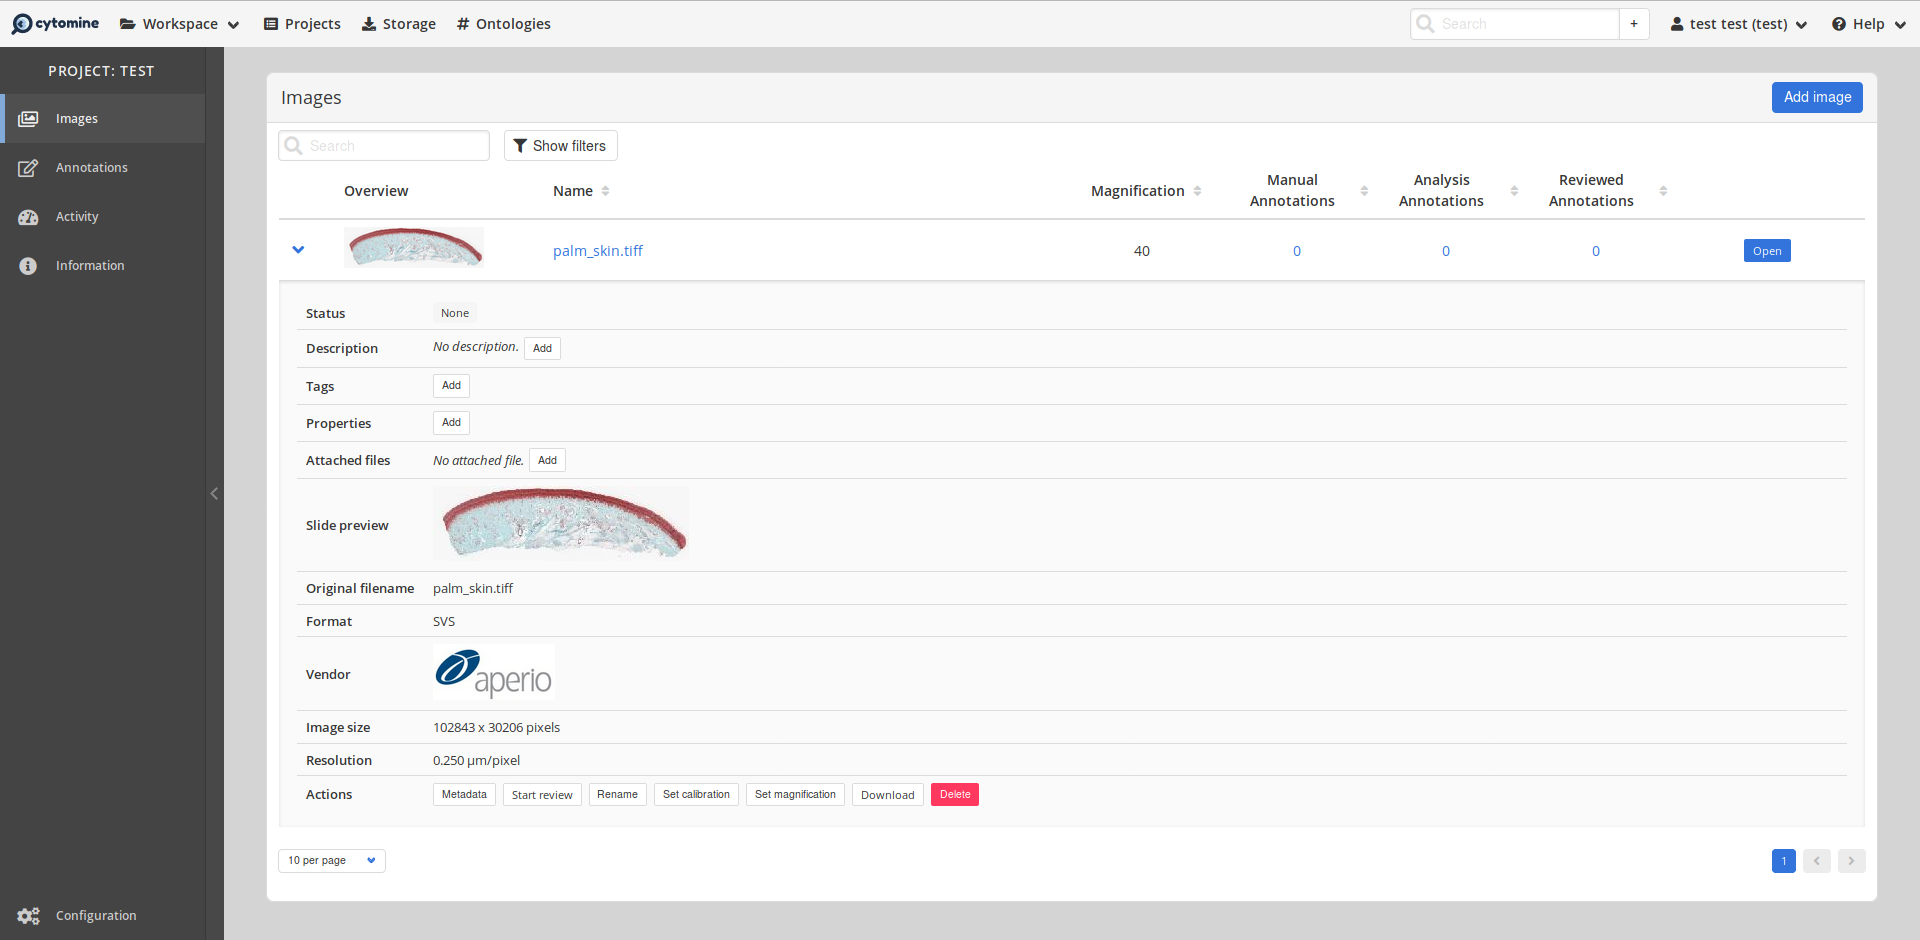
As in the project list, you can expand a line to display some details about the image (resolution, size, vendor, etc).
# Browse an image
You can browse an image from the list of the associated images in this project. Click on the Open button to browse the image.
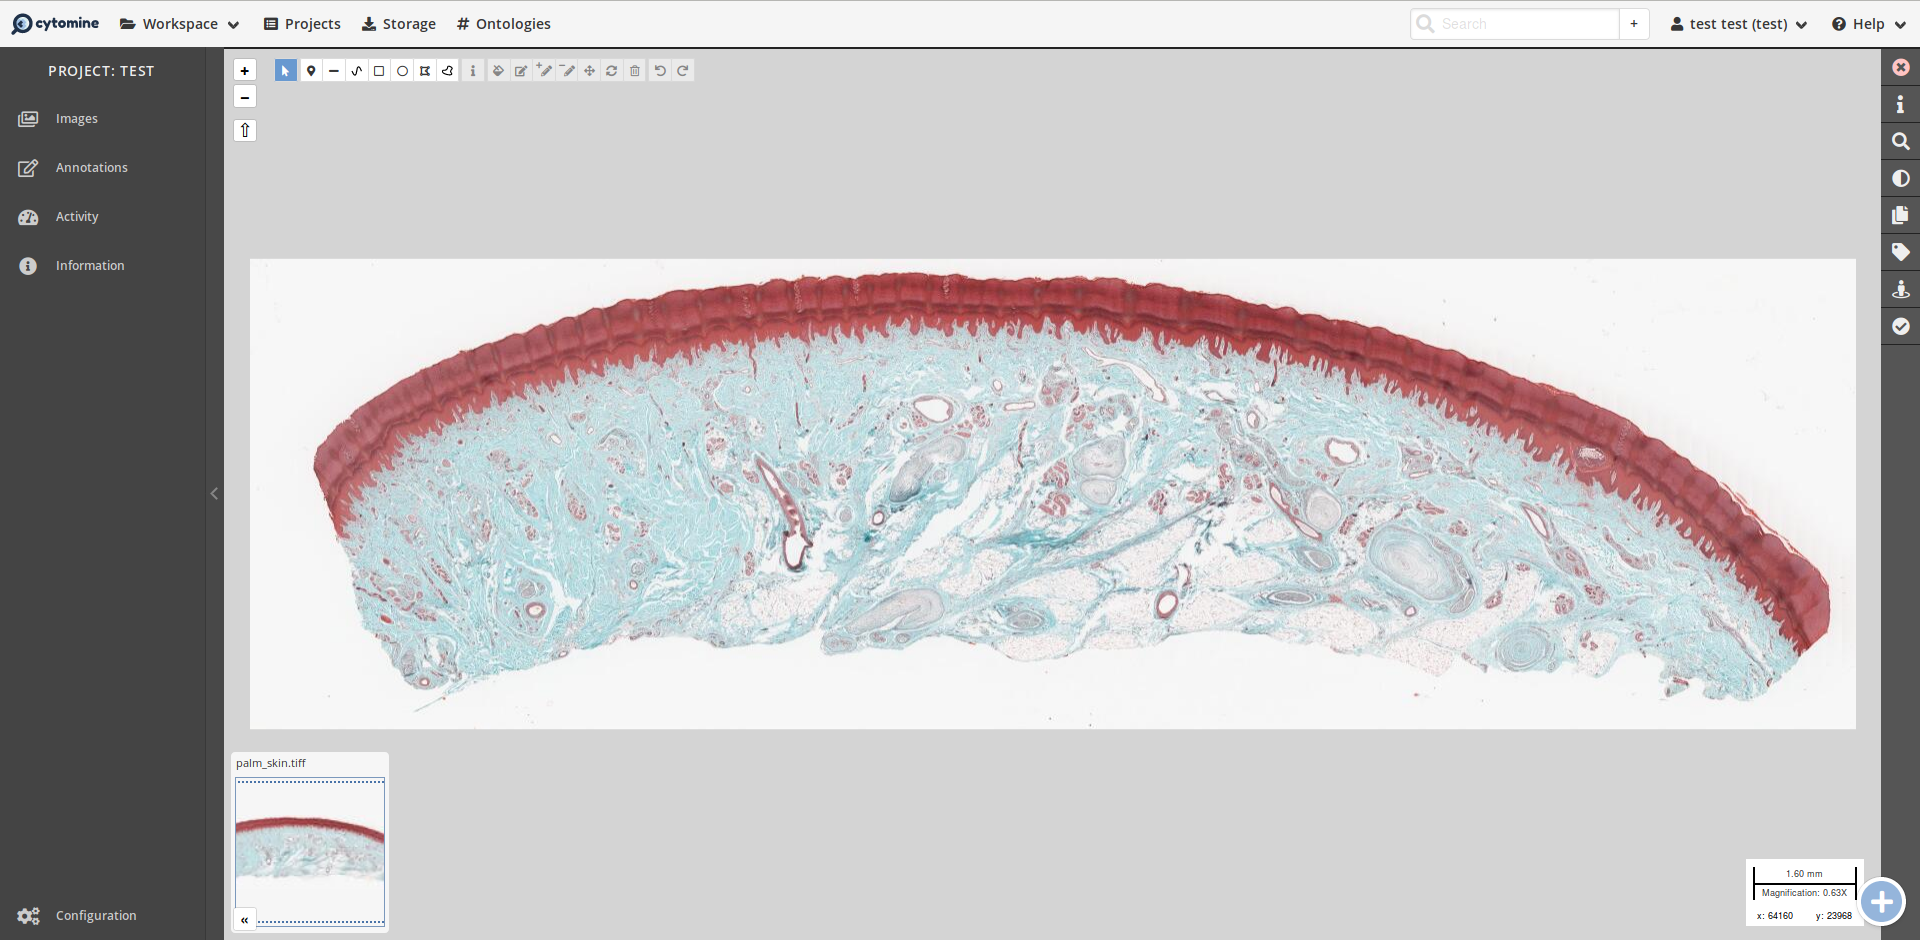
Use the +/- buttons or your mouse wheel to zoom in your image and the left click to drag for browsing in the image. On the right panel, you will find a menu related to your exploration: you can see the layer of other users and properties associated to annotations, change the color balance of the image, etc. But currently, there is no annotation on this image. We will add them in the next point.
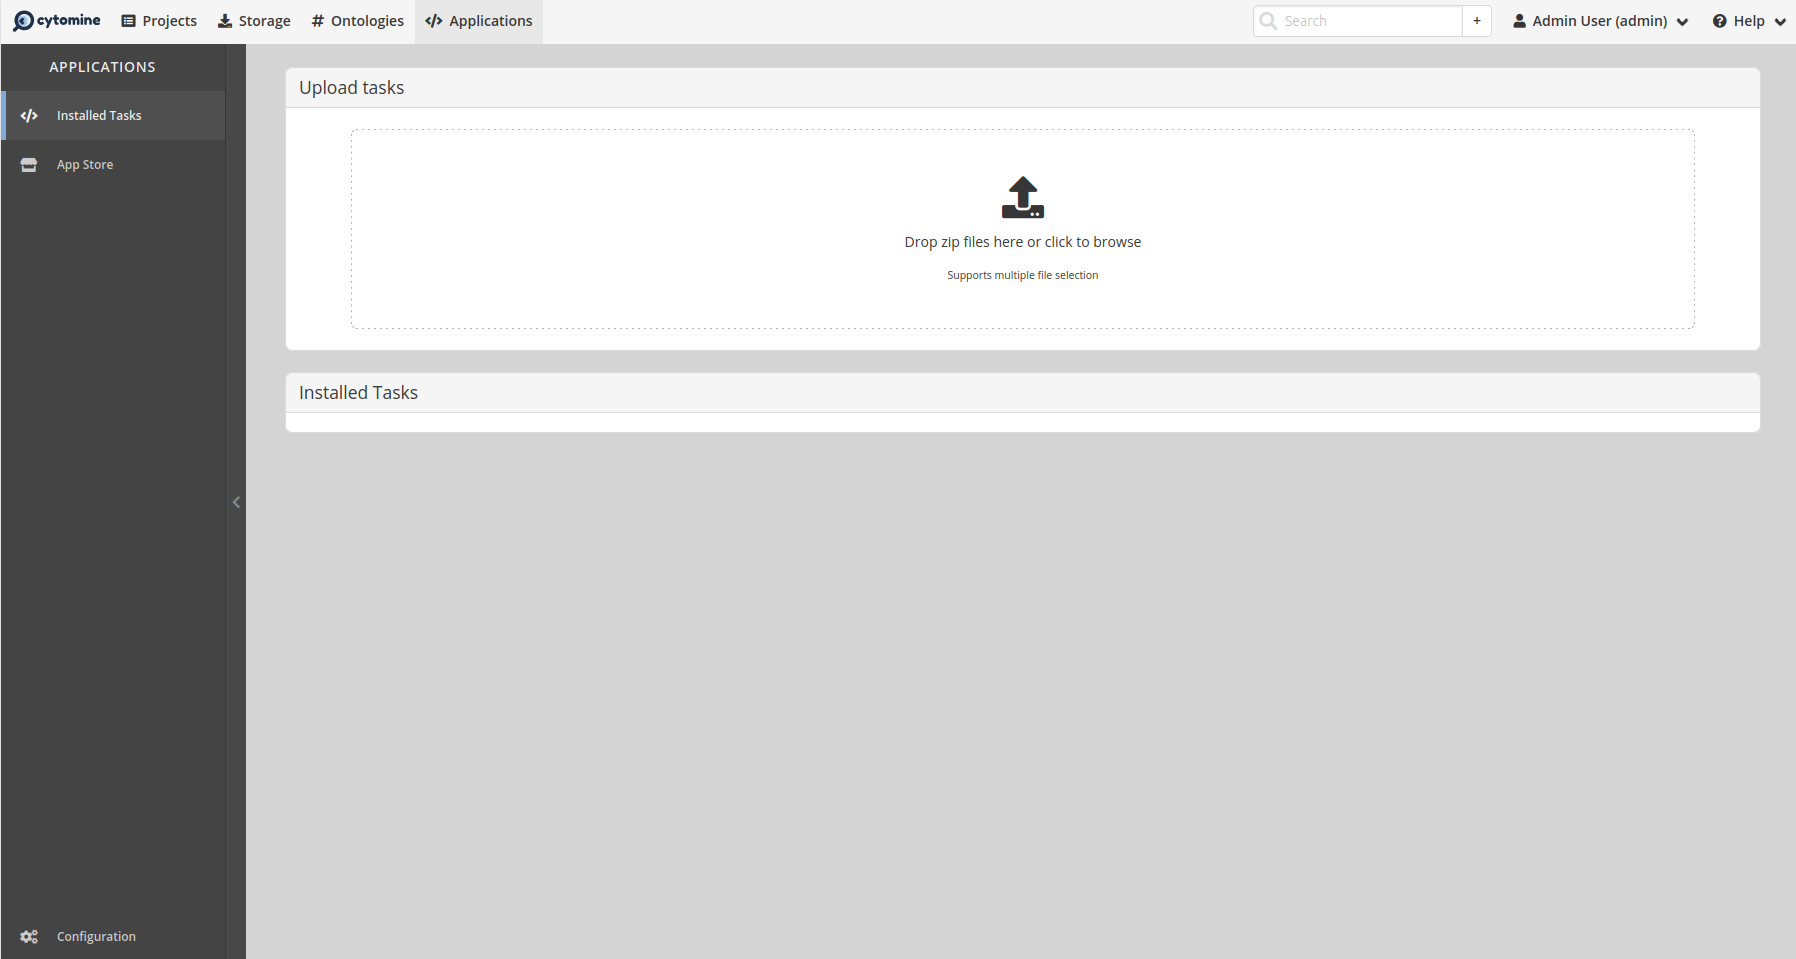
# Upload a task
navigate to applications tab and upload the task zip archive from your machine.
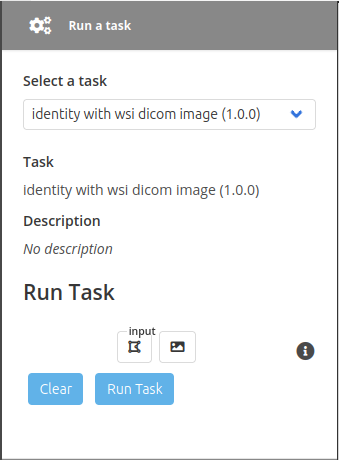
# Run a task
Running a task involves 2 steps as follows:
# 1. open an image in the viewer
# 2. select the task from the dropdown list in the app-engine panel on the left.
# 3. provision the inputs of the task, the inputs will be listed by name, depending on the type the user sees :
- Field for numeric or textual values
- Toggle for boolean values
- Selector for images and annotations
after provisioning all inputs click on Run Task button to execute
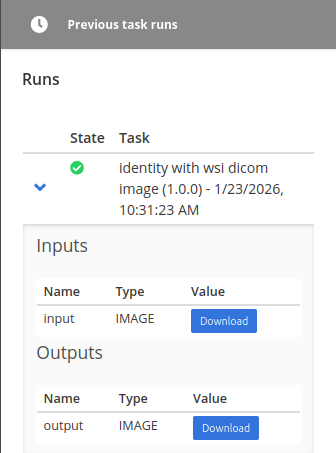
Once the task is succussfully executed expand the run to view all inputs/outputs of the task, expanding the run will asynchronously add all images generated by the task to the project. Also, if the task generates any geometries, these geometries will be added as a layer to any image open in the viewer ( also in group view ) as long as that run is the most recent one.
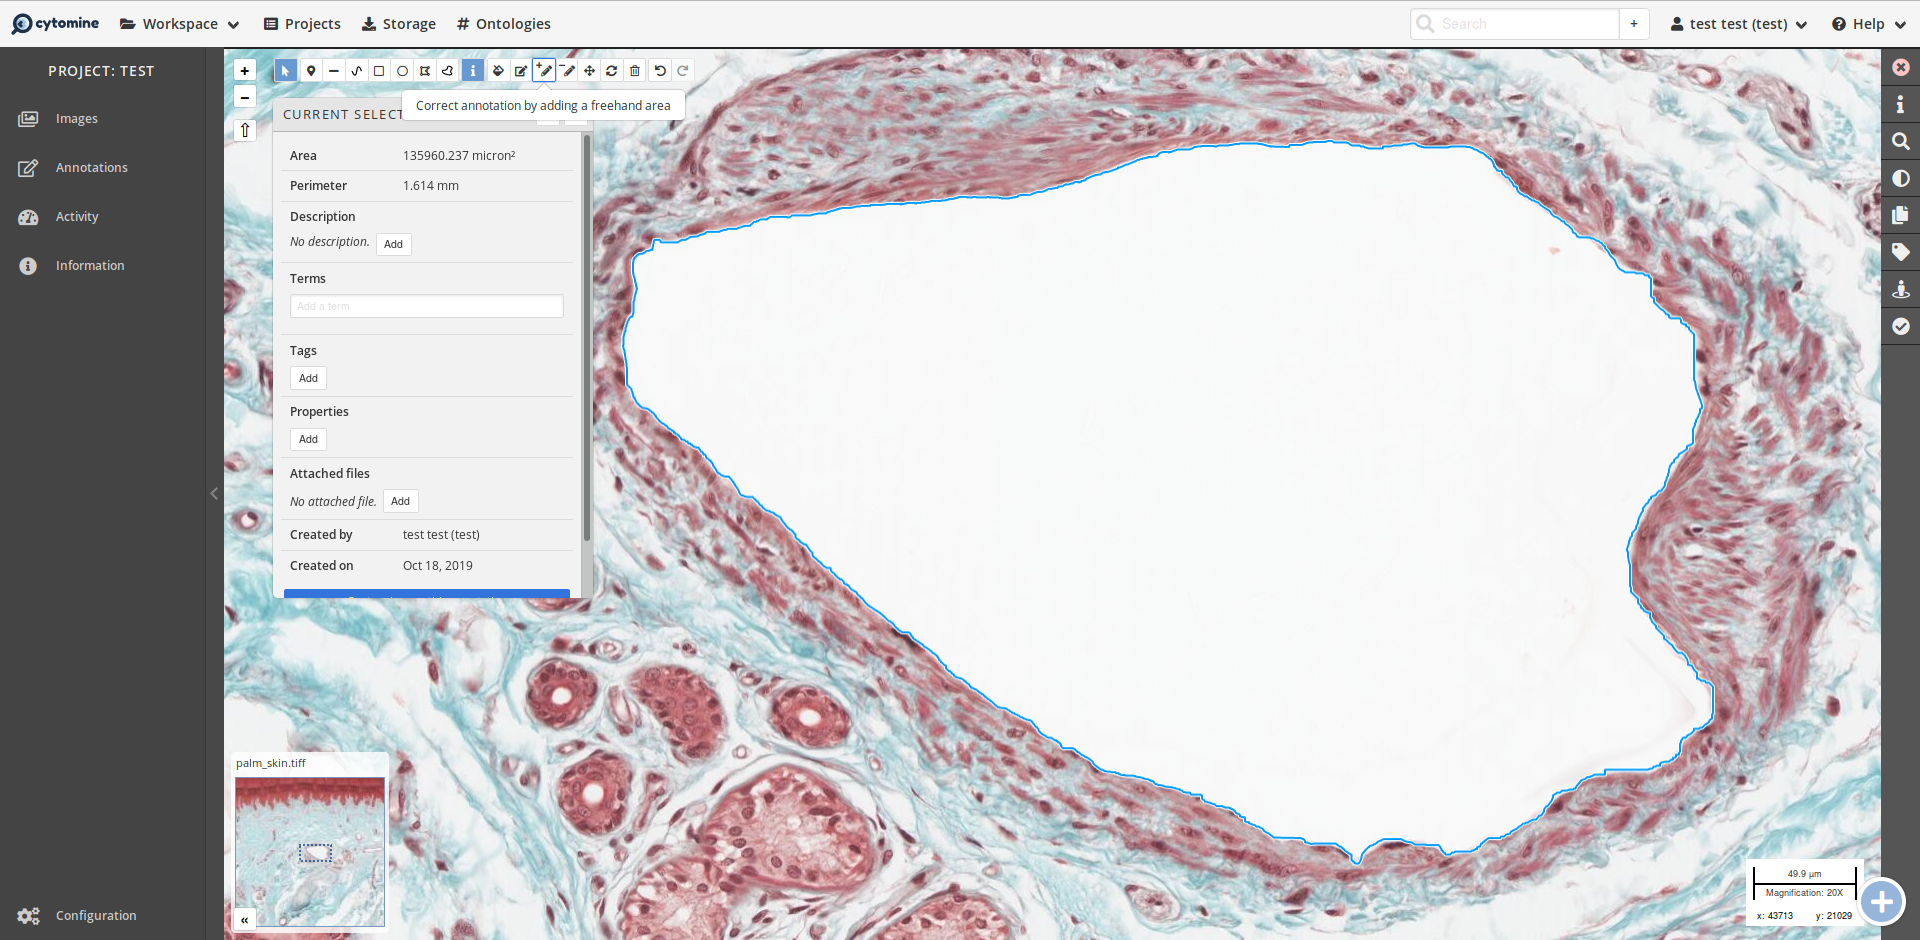
# Add annotations
On the top navigation bar into the browsing view, you can select a mode for adding annotation. To draw a circle annotation, click on "Circle" then put your mouse on a zone of the image, click at the wanted center position of the annotation and move your mouse to determine the radius. Various geometric forms are possible and also a free drawing tool.
Once the annotation is created, you will see an infobox that will allow you to get the annotation size, add a description, terms, tags, properties and so on.
# Add terms to ontology
The main interest of annotations are the terms that we can associate with them to classify annotations and analyze images. Go to the project dashboard and click on the Ontology link. On this space, you are able to add a term and the associated color to your ontology.

# Your Workspace
In the top navigation bar, the Workspace drop down menu will list all the currently opened projects and images during this session and allow you to return quickly in these projects or images.

If you followed the previous instructions on this page, you have the project test with the previously opened image in this list.
Now, return to the previously opened image by clicking on the "Workspace" button and clicking on the image's name.
# Associate terms to your annotation
Click on the Select button in the annotation bar to select your previously drawn annotation and you can now associate terms to your annotation. The annotation has now a color.

You can continue to draw annotations and associate the right terms to your annotations.
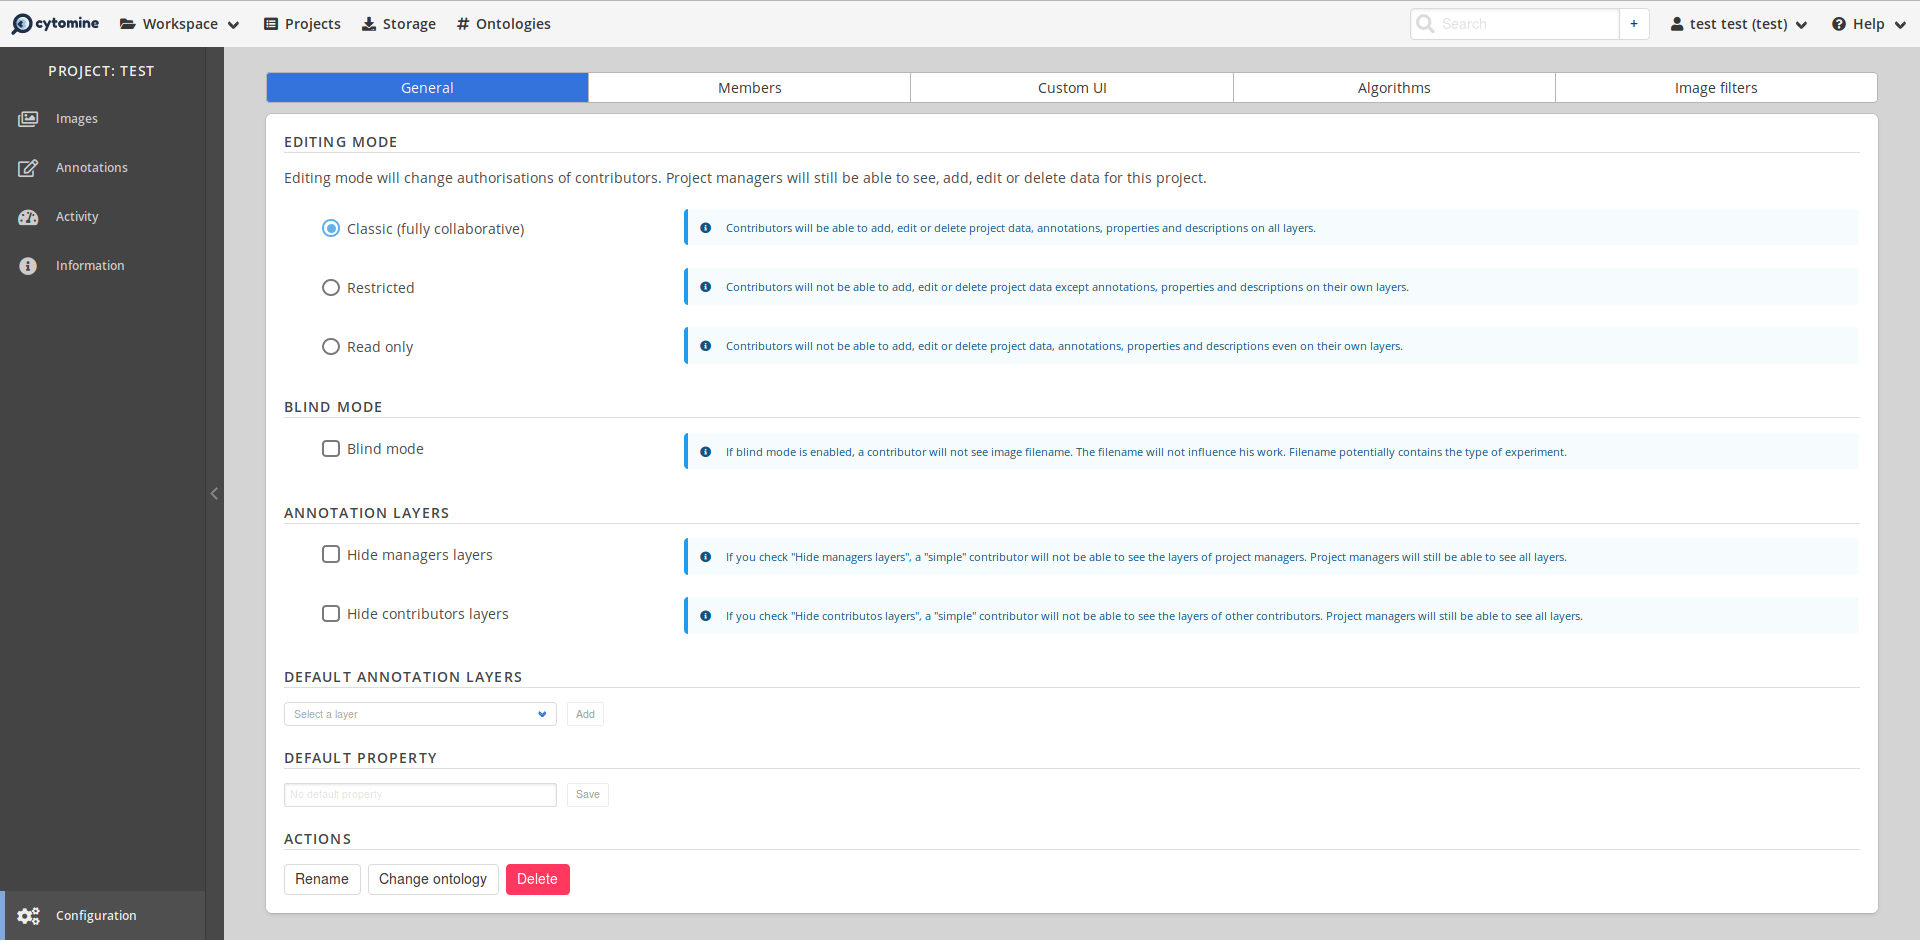
# Configure your project
Until now, we have used the default configuration of our project, but you can customize the access, the displayed panel and so on. Go to the Configuration panel to be able to set the UI access for your contributors (users in your project) and managers (administrators of your project), the software associated with this project, the image filters, and the global permissions (Read Only, Restricted or Classic project).
As an example, in the Custom UI panel, we will be able to disable some annotation tools: the Ellipse will be not used at all and the other geometric forms must not be used by my contributors (but the managers will still be able to use it).
# Add other users
To simply use the collaborative aspects of Cytomine, you need to add other users in your project. Go to the Configuration tab and add a new contributor by clicking on the "Add members" button. You are now able to see the layer of its new user in an image and see its annotations.
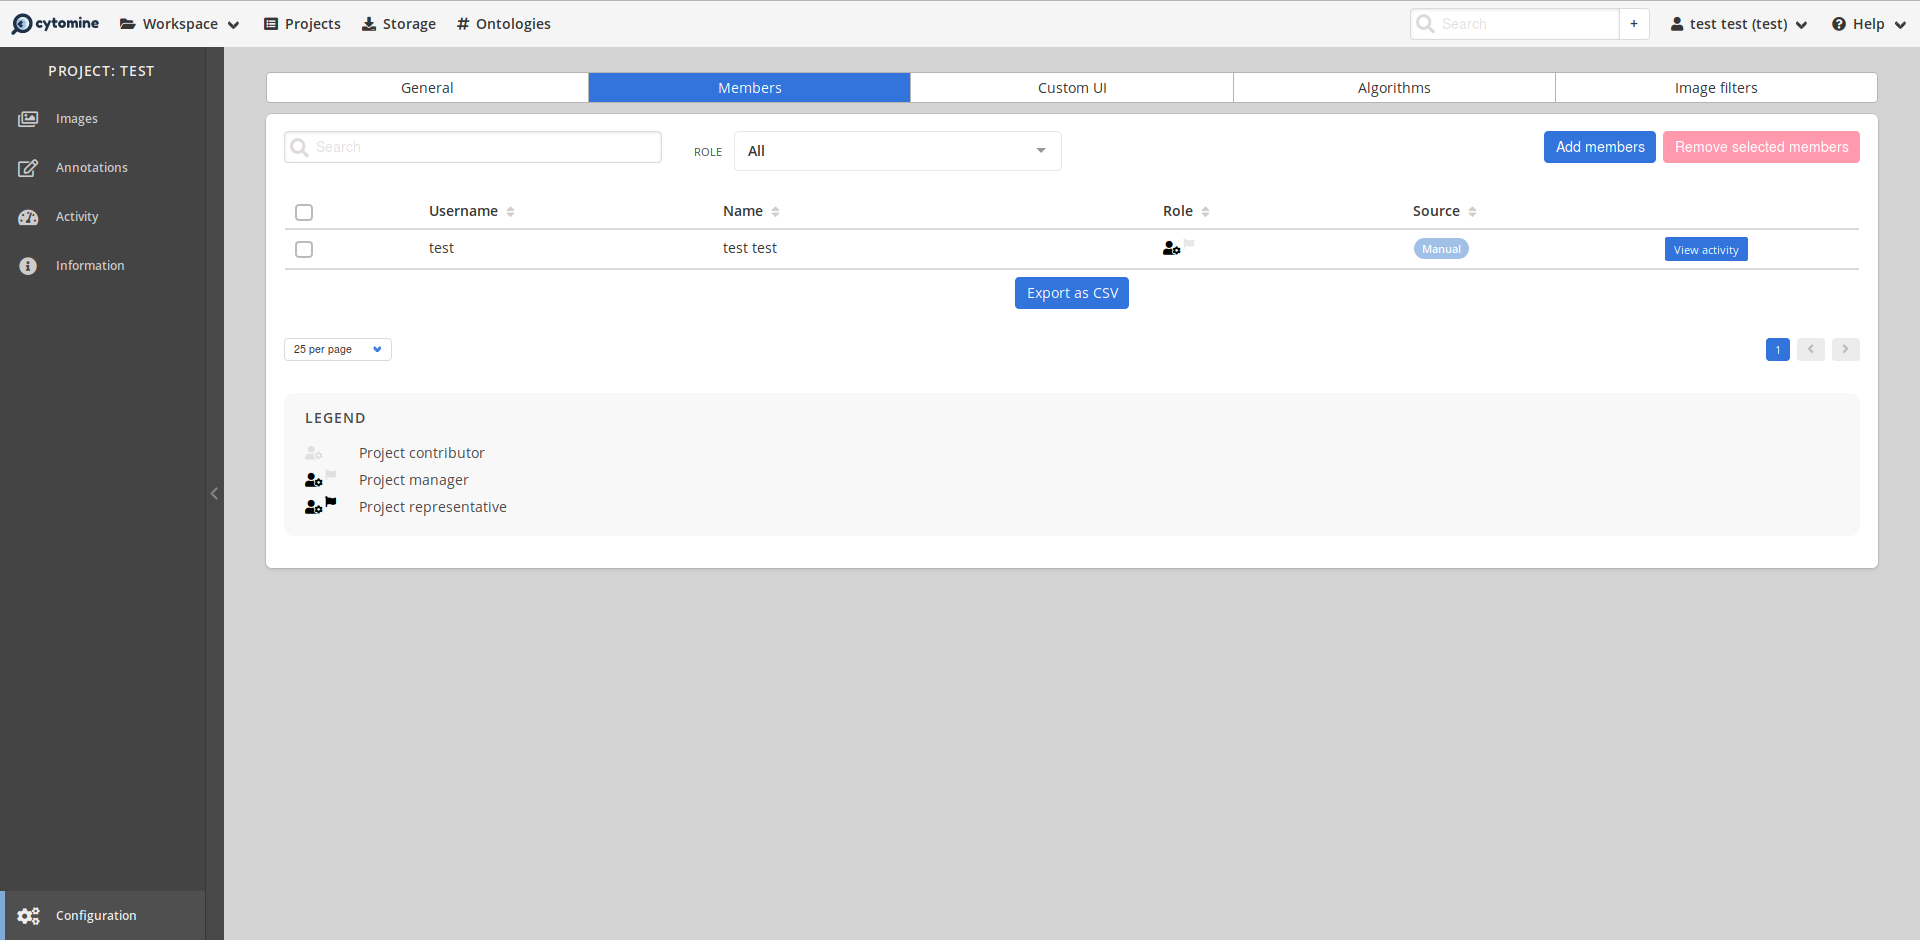
If you want to promote a contributor as a manager, you can click on the human icon in the "Role" column to modify its permissions in the project.
# What to do next?
You will find more information about the exposed concepts in the other pages of this section. If you are not familiar with Cytomine, let's begin with the Project concept.
← Introduction Role →