# Annotation Links
TIP
The annotation link feature can only be used within an image group.
# Create an annotation link
The concept of AnnotationLink allows to link annotations across multiple images within an ImageGroup, e.g., to link different annotations corresponding to a common region of interest in a tissue (e.g., a specific tumor region in stained images or in images acquired with different equipments).
# Copy, paste, and link an existing annotation to other images within the Image Group
To create an annotation and paste-link it in other images, first draw a precise annotation (in the reference image) as usually using annotation tools in a single viewer (see Annotation page ). If you want to associate an ontology term to it (e.g. Tumor), use the Ontology tool. Here we illustrate a use-case where annotations have already been created in 5 images, and the user wants to paste an annotation to a sixth image:
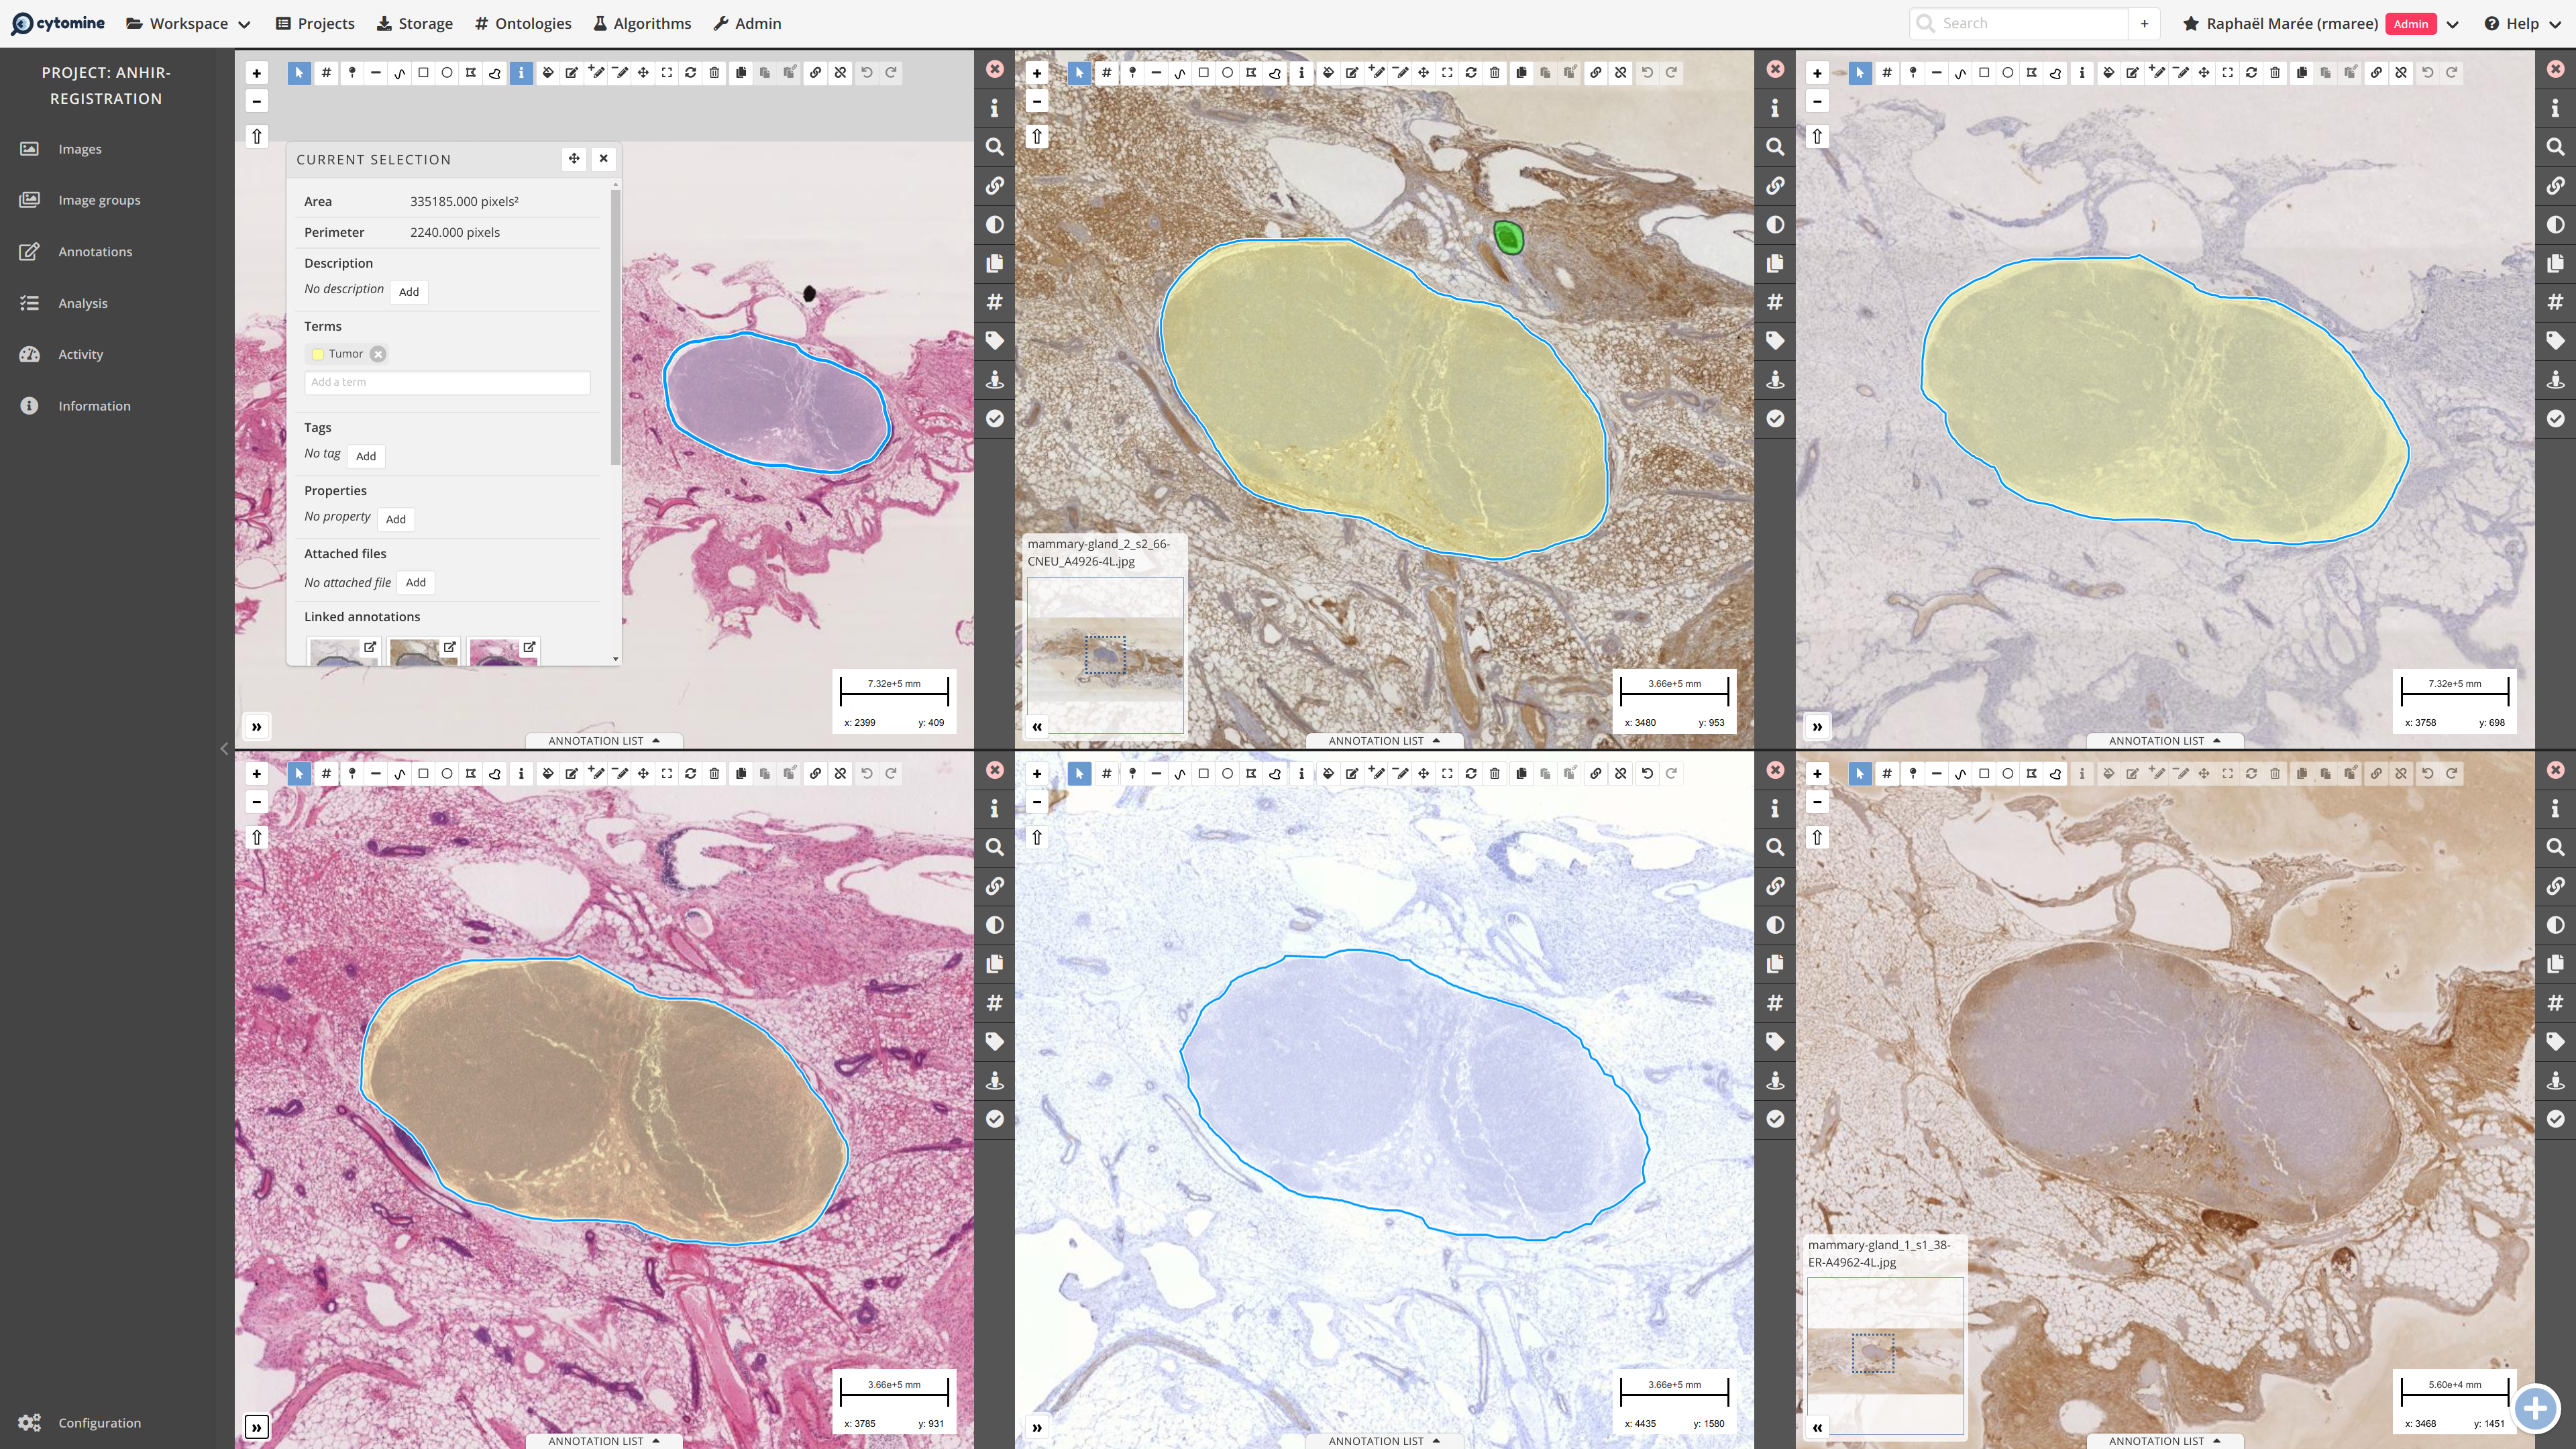
Then, open the whole image group in a multiviewer. Select and copy the annotation in the original image using the Copy Icon (top toolbar).
If images are not aligned, you should move the different viewers into the approximate right position (and eventually rotate images using rotation tool).
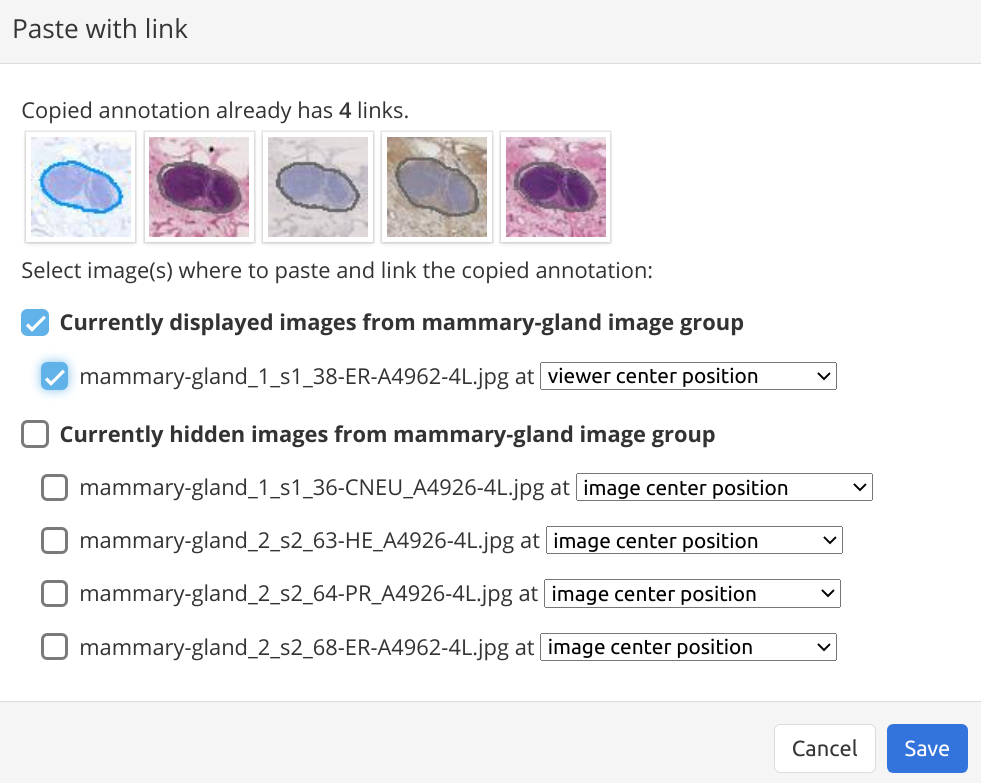
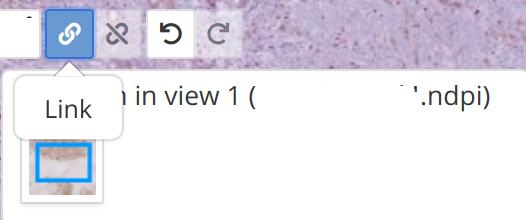
Click on “Paste with link” icon (top toolbar)
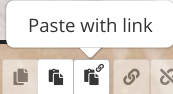
Select images from the image group where you want to paste the annotation. In this example, we will only paste the annotation in the sixth image:
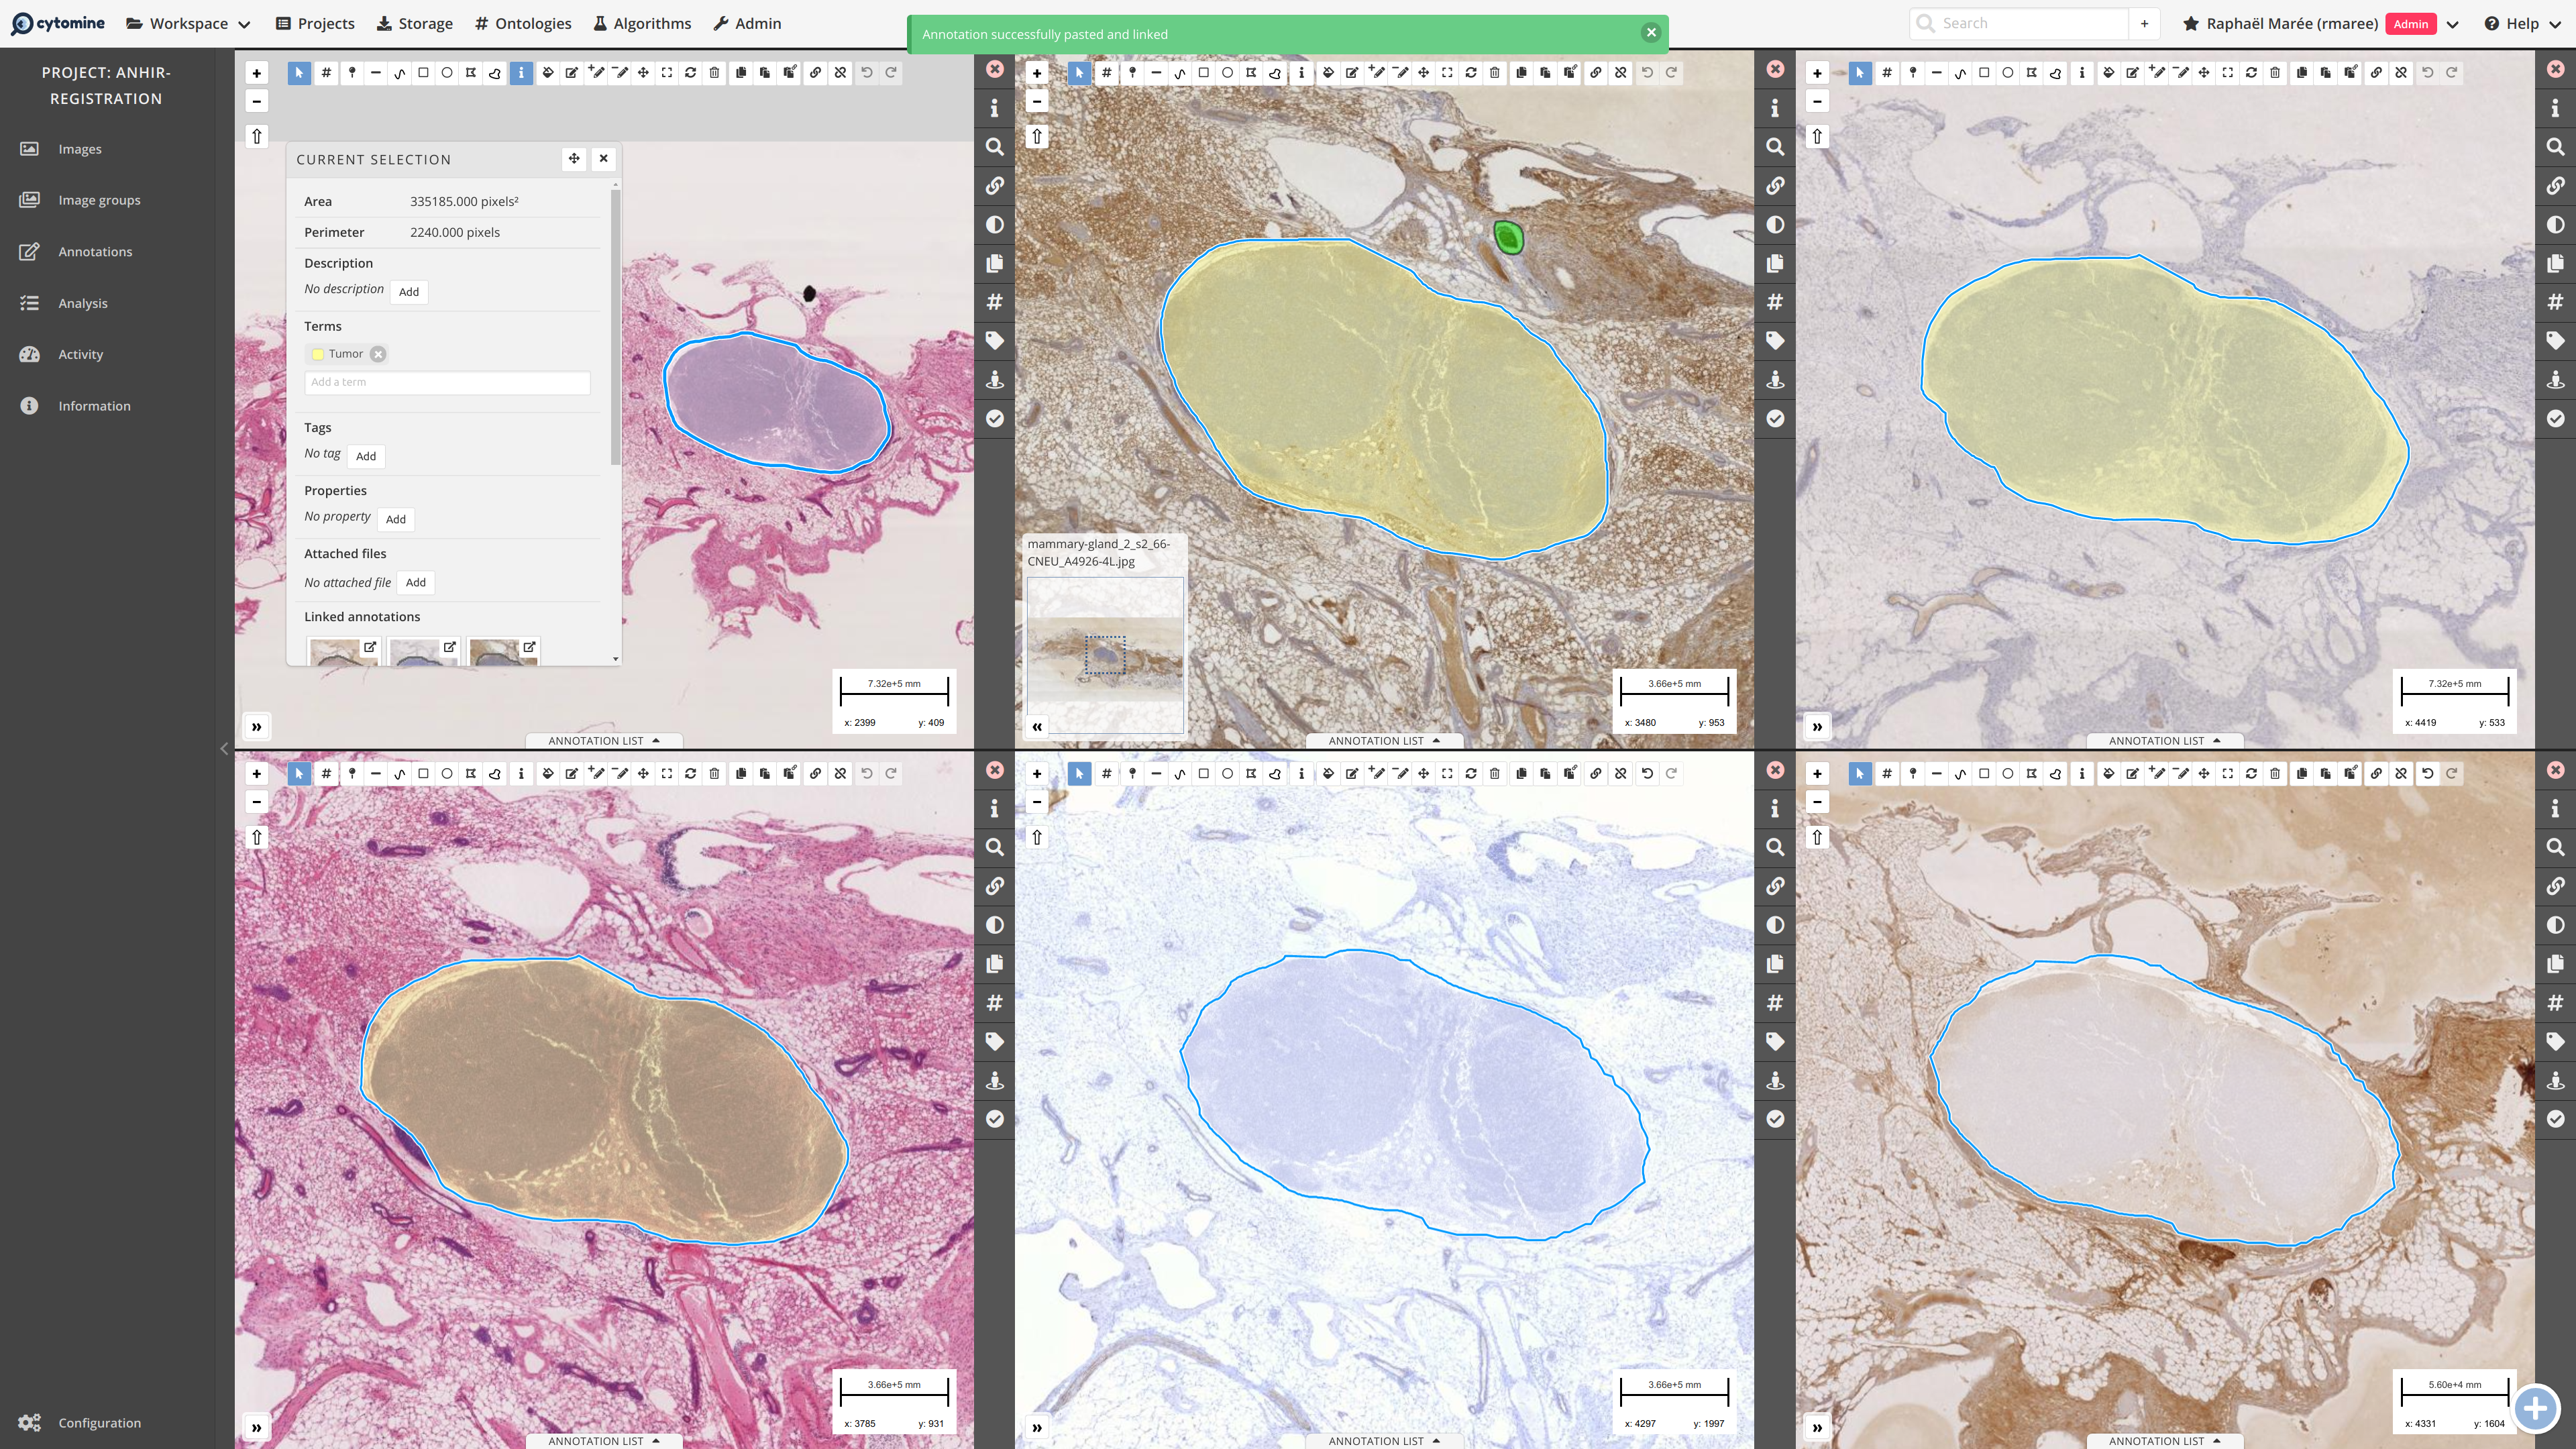
If images are perfectly aligned you can use “original annotation position” that will paste the annotation at the exact same (x,y) location in the target images. If images are not aligned choose “viewer center position” (this will paste the annotation at the center position of each viewer). This will create annotation links and copy annotation geometry+term in all images in one single operation.
If images are not perfectly registered, pasted annotations are not at the exact right position and size and could be edited.
# Create two distinct annotations and link them
If editing a pasted annotation is too complex (e.g. if it requires more clicks to correct it than drawing the annotation from scratch) or if linked annotations are too different (e.g. because images were aquired with very different spatial image resolution and therefore the mapping between the modalities is not direct as images are dissimilar), it is possible to create distinct annotations in distinct images and link them afterwards. To do so, using the multi-image viewer, you can make a new annotation from scratch, then link it to another (reference) annotation. To do so, select the reference annotation in the viewer of the corresponding image, select your new annotation in the right viewer, and use the link button (top toolbar): confirm link by selecting the annotation (should be highlighted in blue).
Note that if you have an Annotation A and you link it to an annotation B (previously linked to C,D), then annotation A will also be linked to C,D, so you can select any annotation from the annotation group and it will add your annotation to it. If you want to unlink an annotation, use the unlink icon:
# View and navigate linked annotations
Once annotations are linked, you can navigate through them and use the multi-image viewer to compare images, annotations, and more.
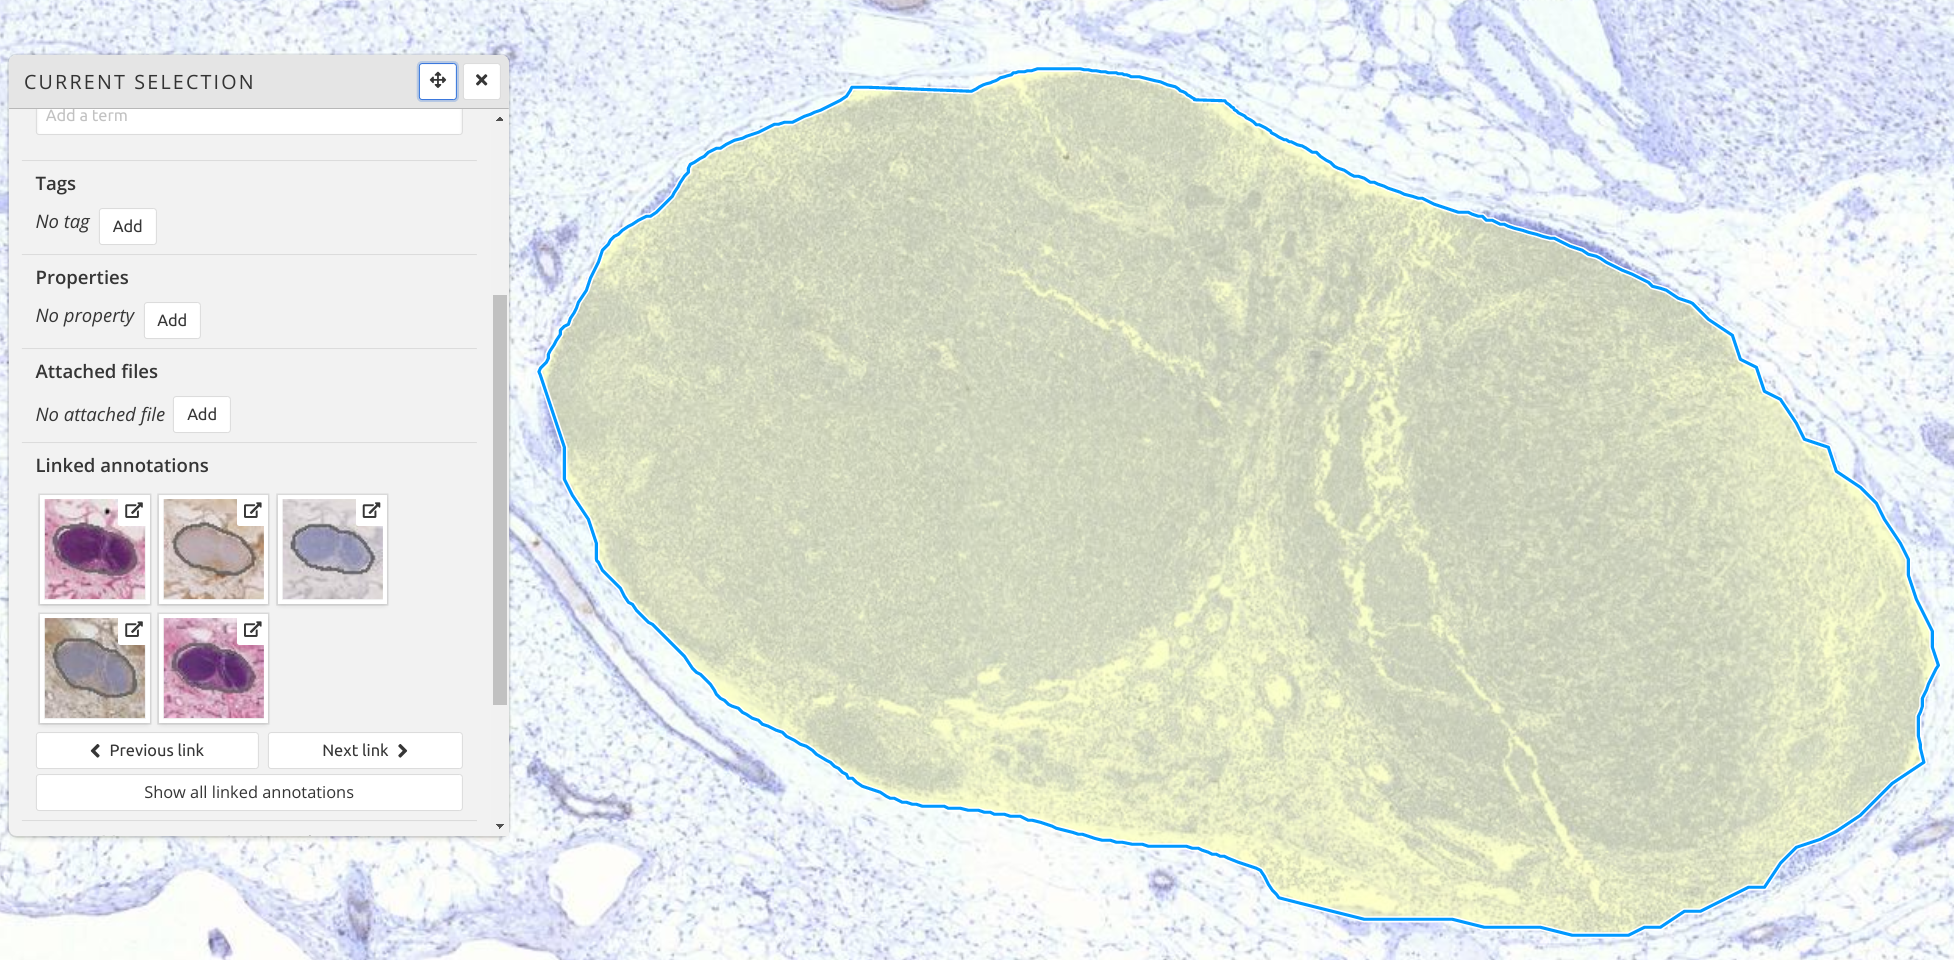
Once you click on an annotation, the current selection dialog box now displays its linked annotations, and by clicking on them you can open the linked annotation in the corresponding image of the image group. You can also open the annotation in another panel of the multi-image viewer, or click on "Show all linked annotations" to split the screen and view all the linked annotations at the same time. It is also possible to select an annotation and use keyboard shortcuts (Ctrl + -> or Ctrl + <-) to go to the next (previous) annotation in this group. You can go back and forth.
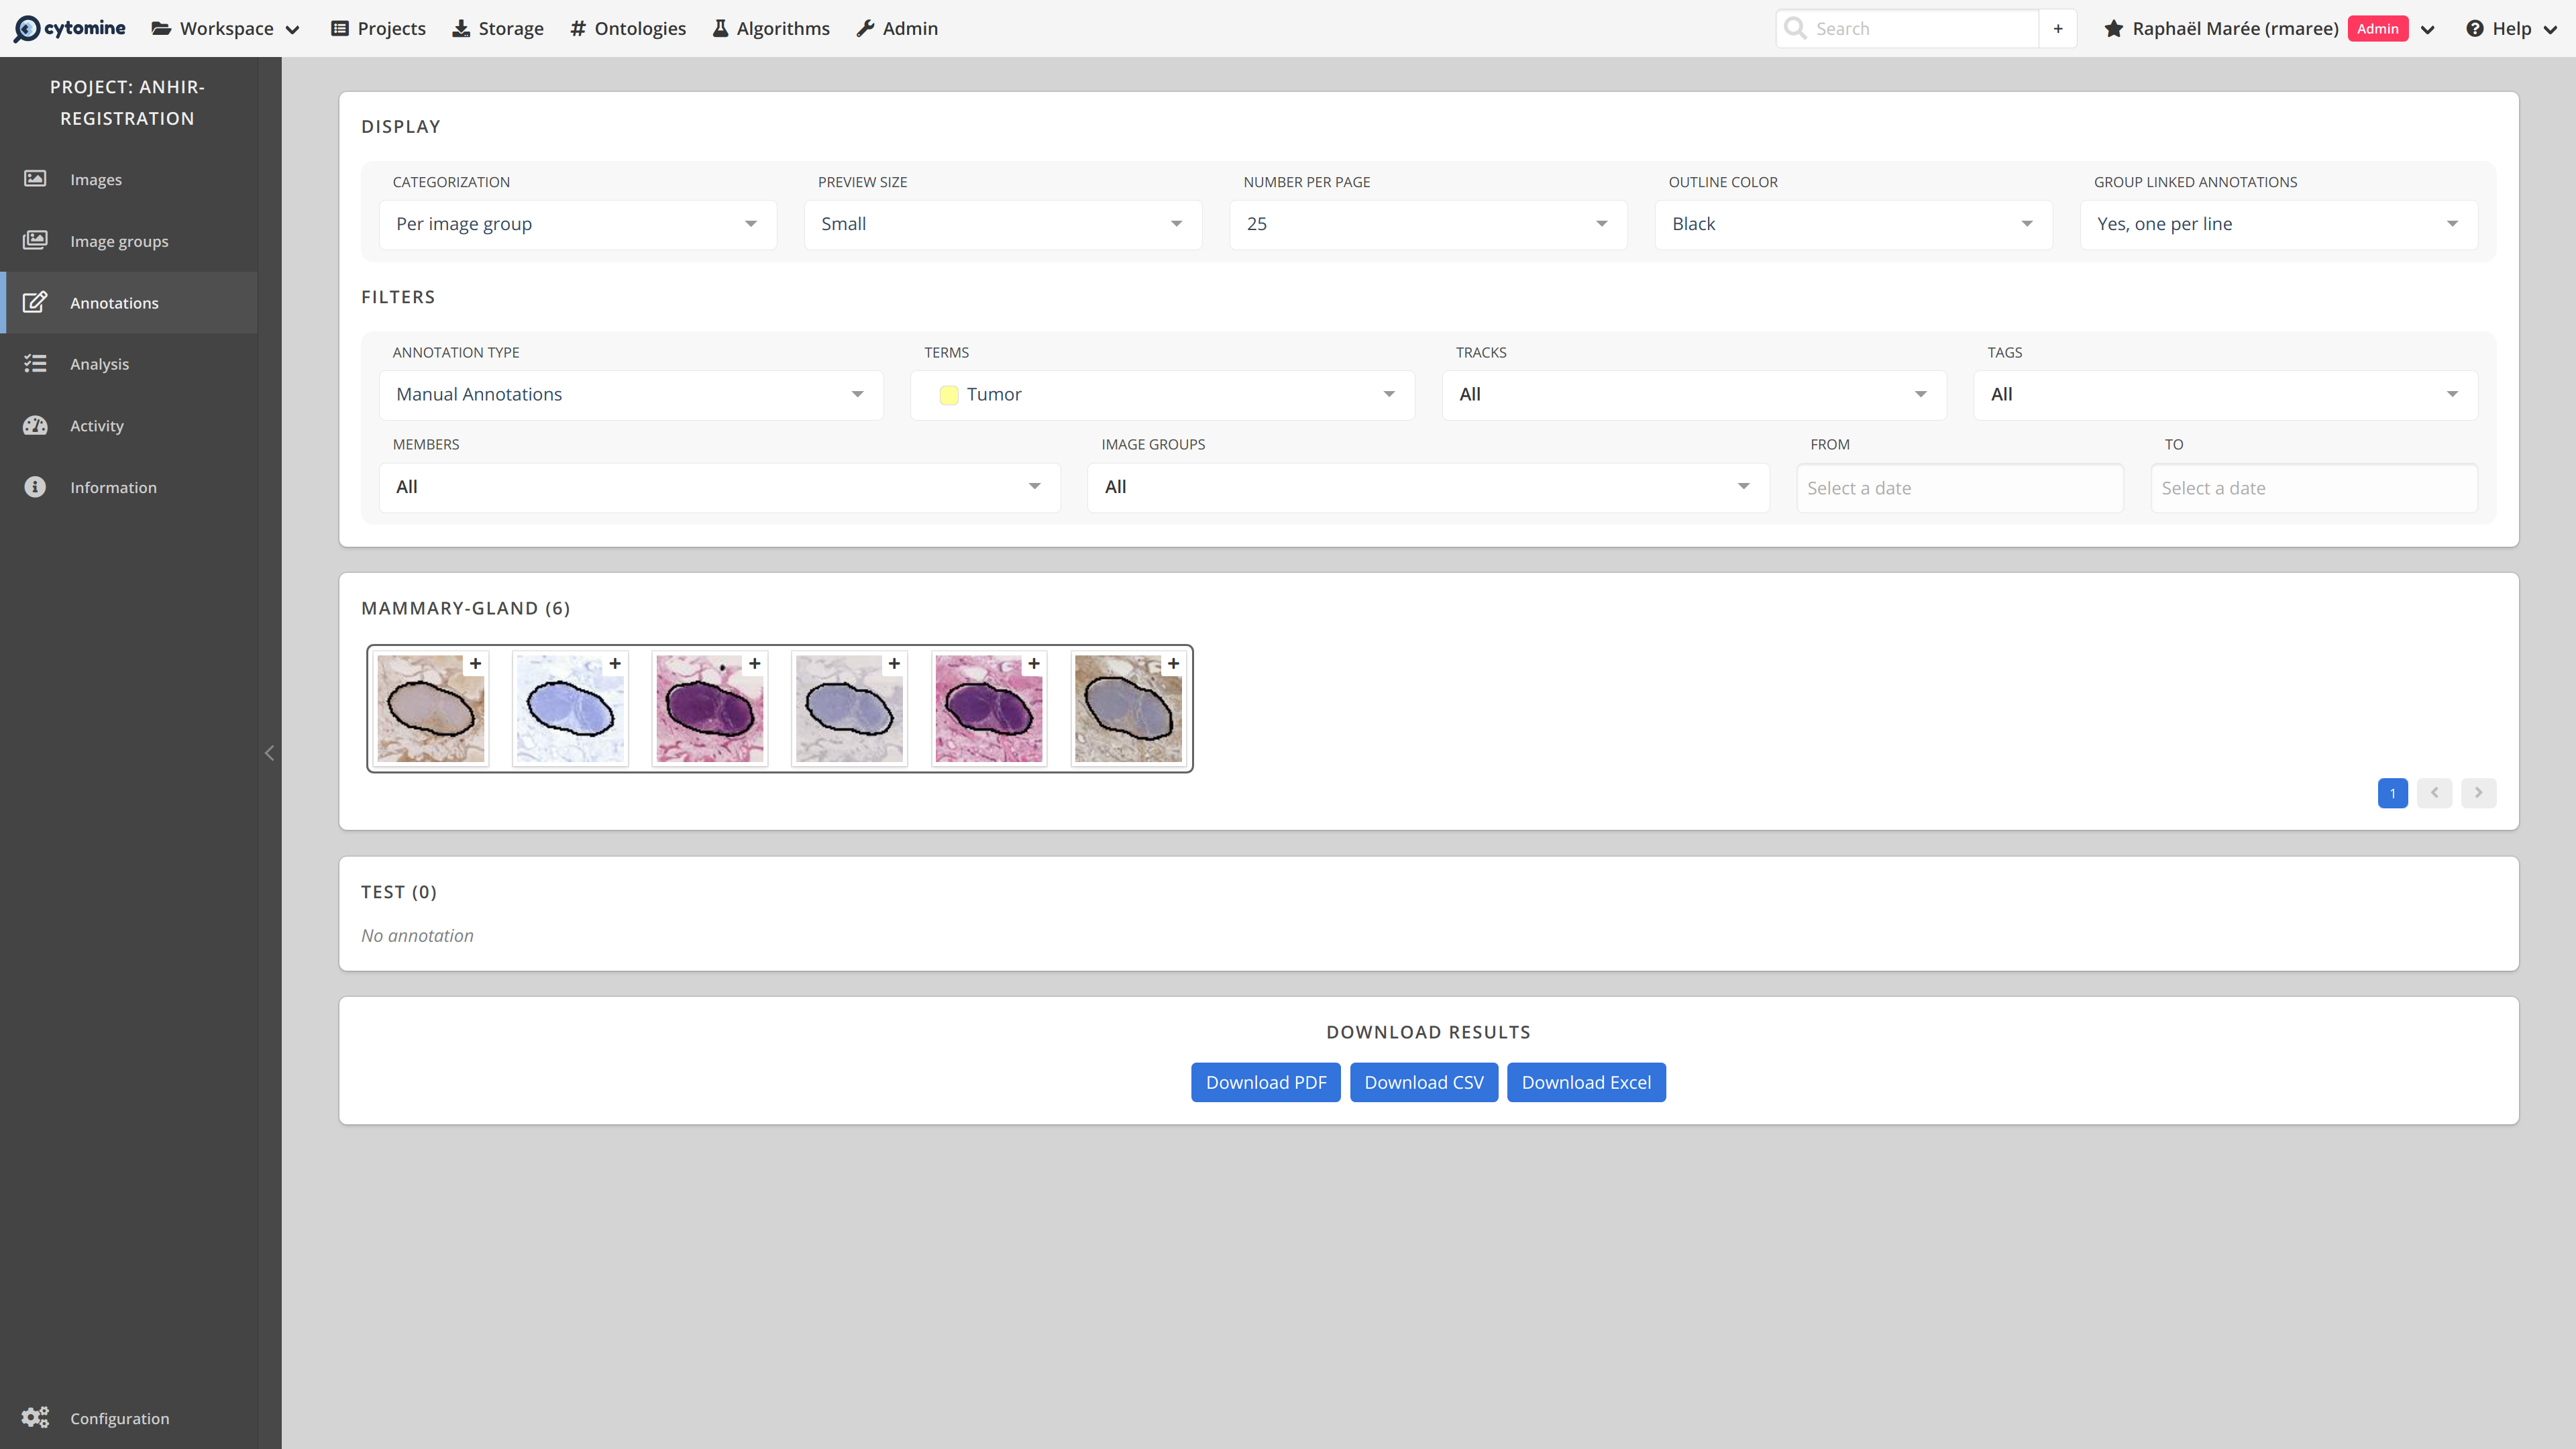
Linked annotations can also be viewed in the Annotations Tab of the project, where they can be filtered by Image Group. Linked annotations are visually distinguished by a black line surrounding them:
← Annotations Storage →