# Administration
This page provides an overview of the admin panel, including how to access it and a summary of its key functionalities.
# How to Access the Admin Panel
The admin panel is accessible on https://your-cytomine-instance.org/iam,
where your-cytomine-instance.org is the URL of your Cytomine instance.
The URL will lead to the following page:
To retrieve the admin password, run the following command in the cytomine folder:
Kubernetes installation
Where <your-cytomine-namespace> is the namespace used to install Cytomine.
Use the retrieved password with the admin username to access the admin panel.
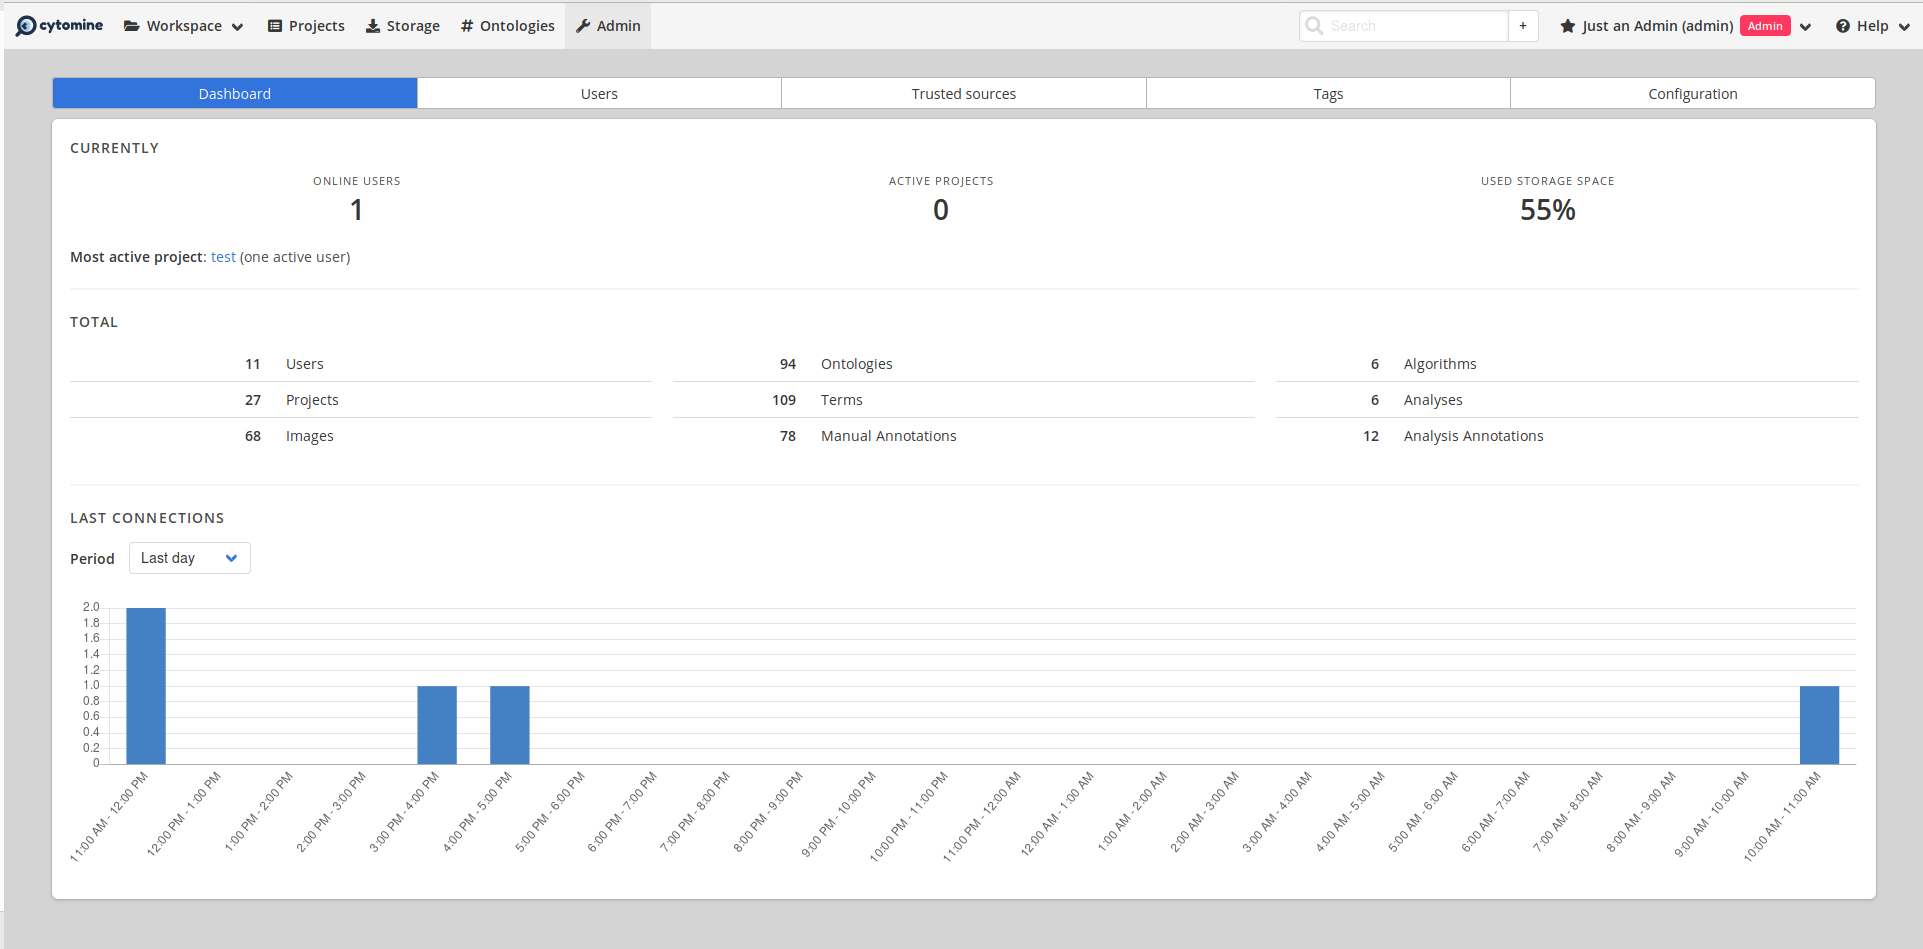
# Dashboard
The admin panel is organised into several sections, each with specific management capabilities.
# Users
TIP
You have to change the realm to be able to manage the users within Cytomine.
To change the realm, click on the drop-down menu on the upper-left corner and select cytomine instead of Keycloak.
This panel is for managing user accounts within Cytomine.
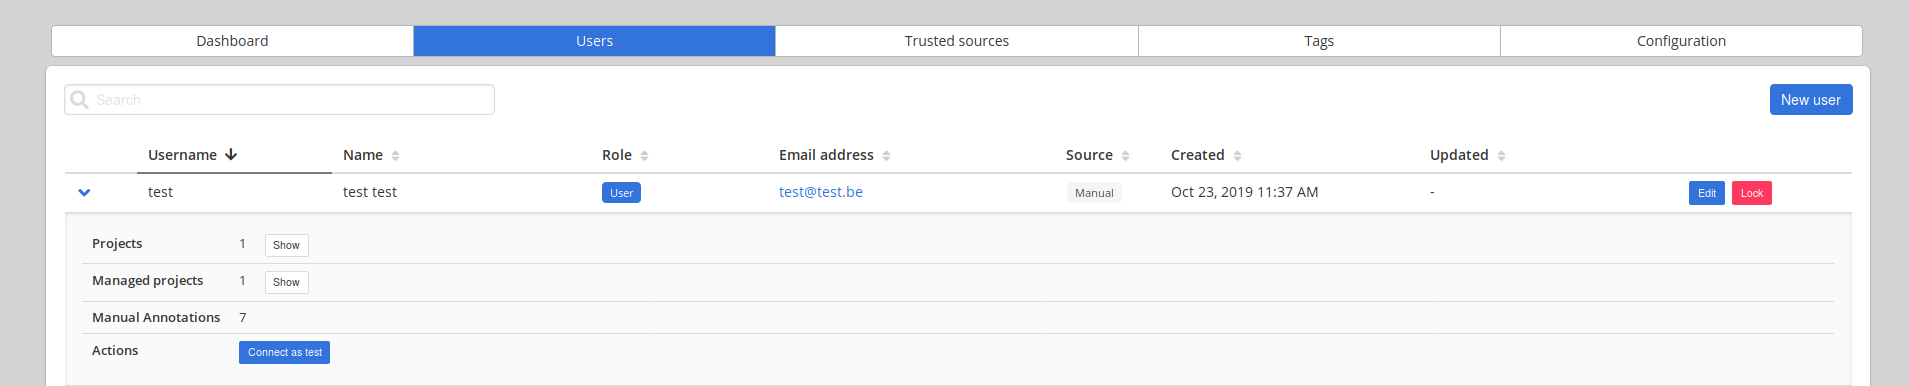
In this panel, you are able to:
- Create, view, edit, or delete user accounts.
- Reset user passwords, set temporary passwords, and manage other credentials.
- Assign roles to users to control their access to different resources.